One of the most frustrating PC problems occurs when your computer powers on — fans spin, LEDs light up, and the hard drive appears active — yet your monitor remains completely blank with no signal. This issue affects desktop PCs and laptops alike and can be caused by anything from a loose cable to a failing graphics card or incompatible RAM module.
The good news is that in the majority of cases, the problem is not a dead motherboard or a catastrophic hardware failure. Simple fixes like reseating your RAM sticks, checking your video cable connections, or resetting the BIOS can resolve the issue in minutes. Understanding why the display stays blank when the PC powers on is the first step toward a quick resolution.
This guide walks you through every possible cause and solution, starting with the easiest checks and progressing to more advanced hardware diagnostics. Follow each step in order and test your display after each one to isolate the exact cause of your no-display problem.
Power off the PC completely, unplug the power cable, then press and hold the power button for 30 seconds to drain residual charge. Reseat all RAM sticks and reconnect your monitor cable firmly. Plug back in and power on. This resolves the problem in roughly 40% of cases.
Computer Turns On But No Display — Monitor Says "No Signal"Basic Troubleshooting
Step 1: Verify the monitor is powered on and set to the correct input source. Press the input/source button on your monitor to cycle through HDMI, DisplayPort, VGA, and DVI inputs. A surprisingly common cause of "no display" is simply the monitor being set to the wrong input channel.
Step 2: Check all cable connections between your PC and monitor. Unplug both ends of the video cable (HDMI, DisplayPort, VGA, or DVI) and reconnect them firmly. Try a different cable if one is available. Damaged or loose cables are among the most frequent causes of blank screens.
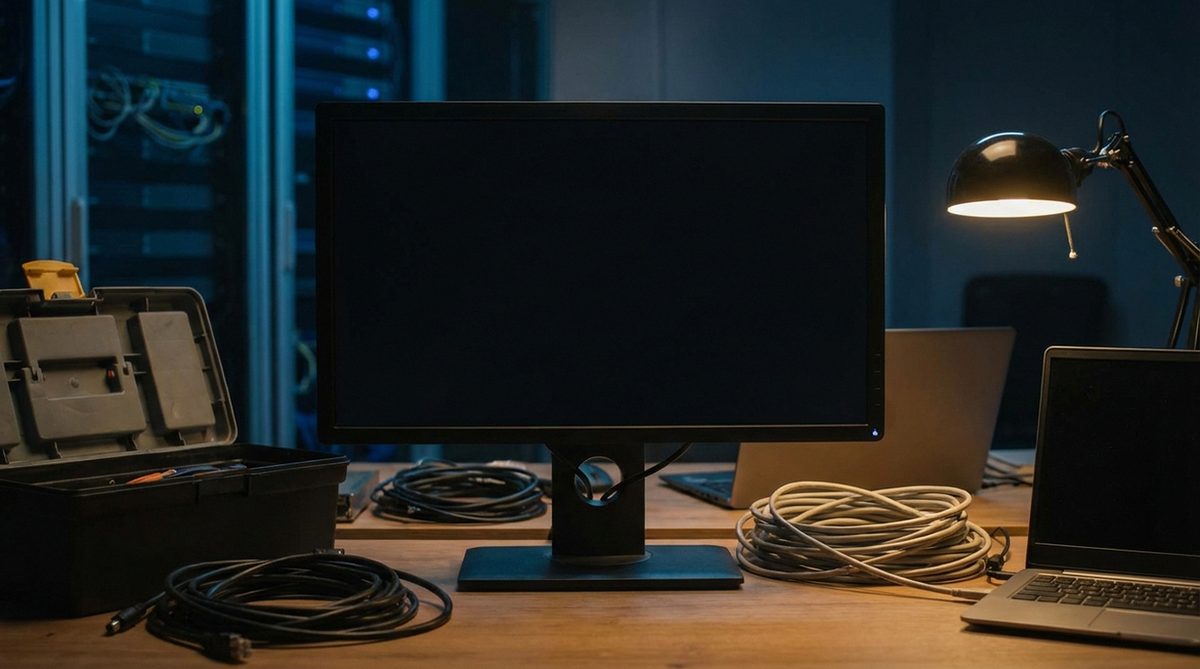
Step 3: Test with a different monitor or TV. Connect your PC to another display to determine whether the issue is with your monitor or your computer. If the second display works, your original monitor may be faulty or its cable may be damaged.
Step 4: Listen for beep codes when the system powers on. Most motherboards emit a series of beeps to indicate hardware errors during POST (Power-On Self-Test). A single short beep typically means successful POST, while repeated or long beeps indicate RAM, GPU, or other hardware failures. Consult your motherboard manual for the specific beep code meanings.
Step 5: Reseat your RAM modules. Power off the PC, unplug it, open the case, and remove all RAM sticks. Clean the gold contacts with a soft eraser or lint-free cloth, then firmly press each stick back into its slot until the retention clips click into place. Try booting with one stick at a time to identify a faulty module.
Advanced Solutions
Step 1: Reset the CMOS/BIOS to default settings. Locate the CMOS battery (a silver coin-cell battery) on your motherboard, remove it for 5 minutes, then reinsert it. Alternatively, use the CMOS reset jumper on your motherboard. This clears any BIOS settings that may be preventing display output, such as incorrect GPU priority or overclocking configurations that have gone wrong.
Step 2: If you have a dedicated graphics card, remove it and connect your monitor directly to the motherboard video output (if your CPU has integrated graphics). If the display works through the motherboard, your graphics card may be faulty, improperly seated, or lacking sufficient power. Reseat the GPU firmly in its PCIe slot and ensure all power connectors (6-pin or 8-pin) are securely connected.
Step 3: Check the power supply unit (PSU). A failing PSU may provide enough power to spin fans and light LEDs but not enough to fully power the GPU or CPU. Test with a known working PSU if possible, or use a PSU tester to verify all voltage rails (3.3V, 5V, 12V) are within acceptable tolerances. Pay particular attention to the 12V rail, which powers the CPU and GPU.
Step 4: Perform a minimal boot configuration test. Disconnect all non-essential hardware: remove all but one RAM stick, disconnect all USB devices, unplug all storage drives except the boot drive, and remove any expansion cards other than the GPU. If the system displays output with minimal hardware, add components back one at a time to identify the conflicting device.
Step 5: Inspect the motherboard for physical damage. Look for bulging or leaking capacitors, burn marks, bent CPU socket pins, or any visible damage. Check that the CPU power connector (4-pin or 8-pin EPS connector near the CPU socket) is firmly plugged in — a missing CPU power connection is a common oversight during new builds that causes the system to power on without display output.
Why Does This Problem Happen?
A computer that powers on but shows no display is typically experiencing a failure during the POST process. The motherboard begins its startup sequence, powering fans and LEDs, but encounters a hardware issue before it can initialize the display output. Common culprits include improperly seated or faulty RAM, a disconnected or dead GPU, incorrect BIOS settings, or insufficient power delivery from the PSU.
New PC builds are especially prone to this issue due to components not being fully seated, forgotten cable connections (particularly the CPU power connector), or RAM sticks not being installed in the correct slots for dual-channel configuration. For existing systems that suddenly develop this problem, the most likely causes are a failed GPU, degraded RAM, a dying PSU, or dust buildup causing overheating and connection issues.