How to Update BIOS on Dell Latitude Laptops Safely involves a straightforward process once you know the exact steps for your specific software version and device. The procedure varies slightly depending on whether you are using a desktop application, web interface, or mobile app, so this guide covers all platforms with version-specific instructions.
Many users struggle with this task because the interface options are not always labeled intuitively, or the feature is buried in a submenu that is not immediately visible. Additionally, some steps require prerequisite conditions — such as specific permissions, software versions, or account types — that must be met before the feature becomes available.
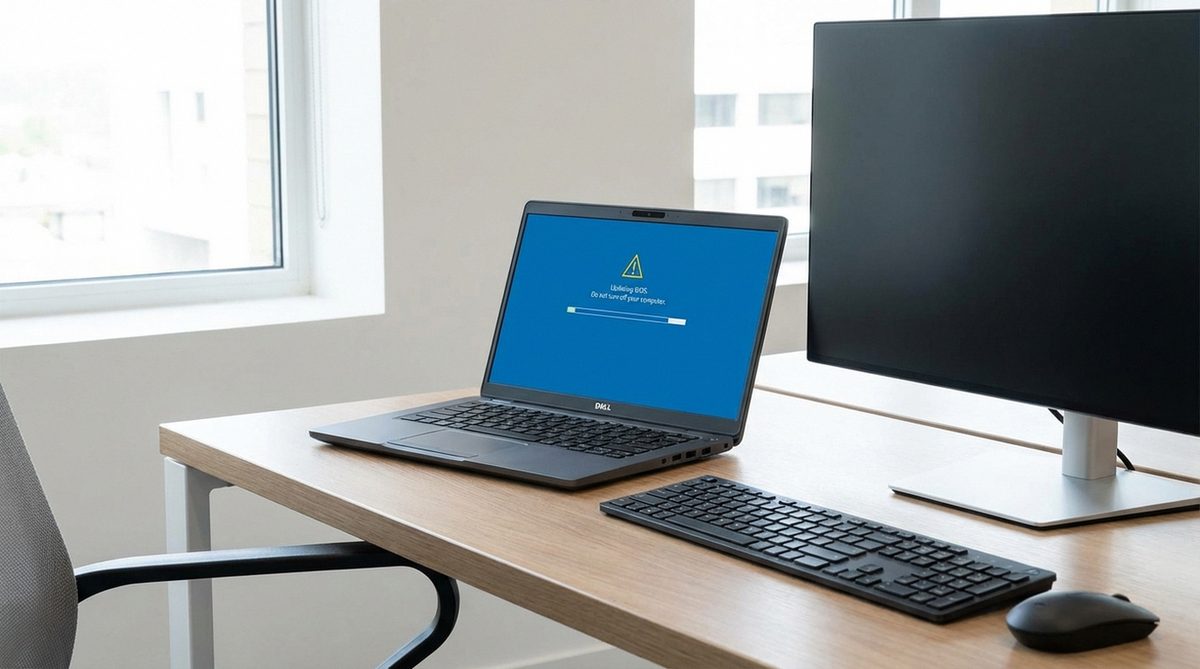
Follow the step-by-step instructions below for your specific platform. Each method includes screenshots descriptions and notes about common pitfalls to avoid during the process.
For the fastest solution, follow Method 1 below. It covers the standard approach that works for most users. If your situation is different, Methods 2 and 3 provide alternative approaches.
Method 1: Standard Approach
Step 1: Open the relevant application or settings panel for the task you need to complete. Ensure you are logged in with an account that has the necessary permissions.
Step 2: Navigate to the specific feature or setting described in this guide. The exact location may vary slightly depending on your software version, but the general path remains consistent.
Step 3: Follow the on-screen prompts or enter the required information as described in the steps above. Double-check all entries before confirming to avoid errors.
Step 4: Save your changes and verify that the action was completed successfully by checking the relevant output, report, or confirmation message.
Method 2: Alternative Approach
Step 1: If the standard method does not work or is not available in your version, try this alternative approach that achieves the same result through a different path.
Step 2: Access the feature through the application's advanced settings, command line interface, or alternative menu system.
Step 3: Complete the required steps and save your changes. This method may require additional technical knowledge but provides more control over the process.
Step 4: Verify the results and ensure everything is configured correctly before moving on to other tasks.
Why Does This Problem Happen?
The procedures described in this guide may vary depending on your specific software version, operating system, and account configuration. Developers regularly update interfaces and move features between menus, which means instructions written for one version may not exactly match what you see on your screen.
If you cannot find a specific option mentioned in this guide, check your software version and ensure it is up to date. Some features are only available in certain subscription tiers or editions. Consulting the official documentation for your specific version can help bridge any gaps between these general instructions and your exact setup.