
Adding a text box in Google Docs is a great way to make your document professionally organized. If you are creating your document in Google Docs and wish to insert a text box in it then you must be curious to know about how to add text box in Google Docs. In this guide, you will discover a number of ways to add text boxes in Google Docs that you can follow as per your choice.
To add the text box in Google Docs, you can perform a number of techniques using the tools provided by Google Docs itself. With the help of these tools, you can follow different ways to add text boxes in your document. Here, we are going to discuss three types of methods which are as follows:
- How to Add Text Box in Google Docs using the Drawing tool?
- How to Add Text Box on Google Docs with Shapes?
- How to Add a Text Box in Google Docs using a Single Cell Table?
These methods are the best way to insert a text box in Google Docs. For instance, you can easily access the Drawing tools, use shapes, and a single cell table to insert the text box. If you want to learn how to use these tools to add text boxes and how to add text box on Google Docs then you do not need to think a lot.
In this blog, we will discuss all these methods with a step by step guide. And, then you can create your projects, presentations for your office and college work. Let us know more about how to add text box in Google Docs in detail.
How to Add Text Box in Google Docs using the Drawing tool?
The best and easy to go method to add text box in Google Docs is to use Drawing tools. By using the drawing tools, you can access the text box feature. Let us know how to add text box in Google Docs with the help of Drawing tools.
- As the first step, you can open the document in Google Docs in which you want to add the text box.
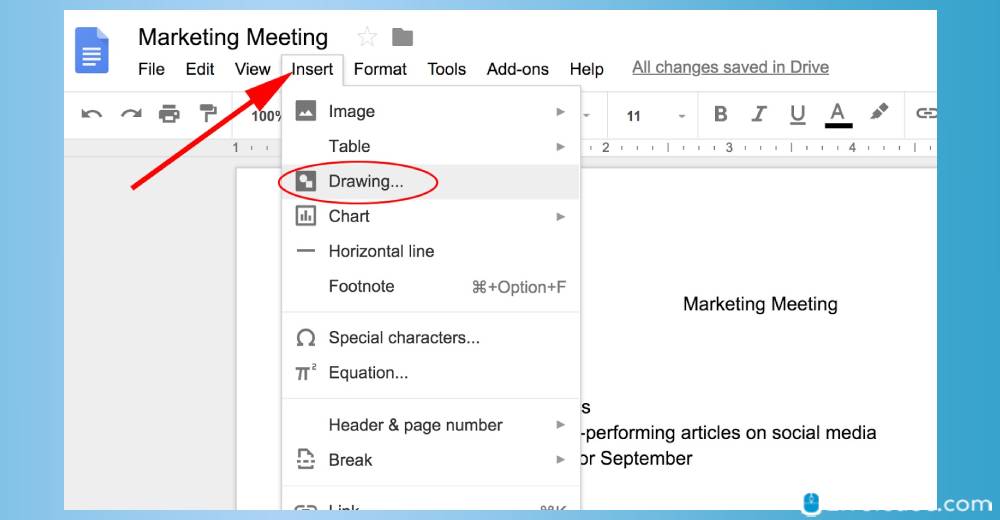
- Then, you can click on the Insert option located on the top menu bar.
- After this, you can select the Drawing option.
- Here, you can click on the New option. This will show you a Text Box box icon on the top right, you can click on it.
- Once you do so, the tet box will take place in your document.
- Then, you can add the text, adjust, and customize the text box.
- In the end, you can click on the Save and Close button located on the top right.
These were the steps for how to add text box to Google Docs. It is the best way to add a text box in your document. All you need to navigate through the Drawing tools, customize the text box, and you are done.
How to Add Text Box on Google Docs with Shapes?
The drawing tool also allows you to use the shapes feature to add the text box in Google Docs. If you want to know how to add text box on Google Docs using shapes then you can go through the steps mentioned below:
- To get started, you can open the document in Google Docs in which you want to add the text box.
- In the next step, you can click on the Insert option located on the top menu bar.
- Thereafter, you can click on the Drawing option.
- Here, you can click on the New option. This will show you the Shapes icon located just before the Text box icon. It should be placed on the top right.
- Once you click on the Shapes icon, it will show you different shapes. You can pick any of the desired shapes from here.
- After this, you need to click on the area where you want to create the text box and then you need to drag the mouse in order to make a text box shape.
- When you are done creating a shape, you can click twice within the box in order to type your text.
- Once you are done, you can click on the Save & Close to apply your actions.
- If it is required, you can edit the text box information by clicking on the Edit button.
Besides adding the text box, you can add image, lines, color, and customize the whole text box as per your requirements. You can also remove the text box just by hitting the Delete button if it is required later. So these are the steps for how to add a text box to Google Docs using the shape tool. To know the third method, read below.
How to Add a Text Box in Google Docs using a Single Cell Table?
Another method to add the text box is to use a single cell table. To know how to add a text box in Google Docs using a single cell table, you can look through the steps mentioned below:
- As the first step, you can open the document in Google Docs in which you want to add the text box.
- Then, you can click on the Insert option located on the top menu bar.
- Here, you will find the Table option with a drop-down menu.
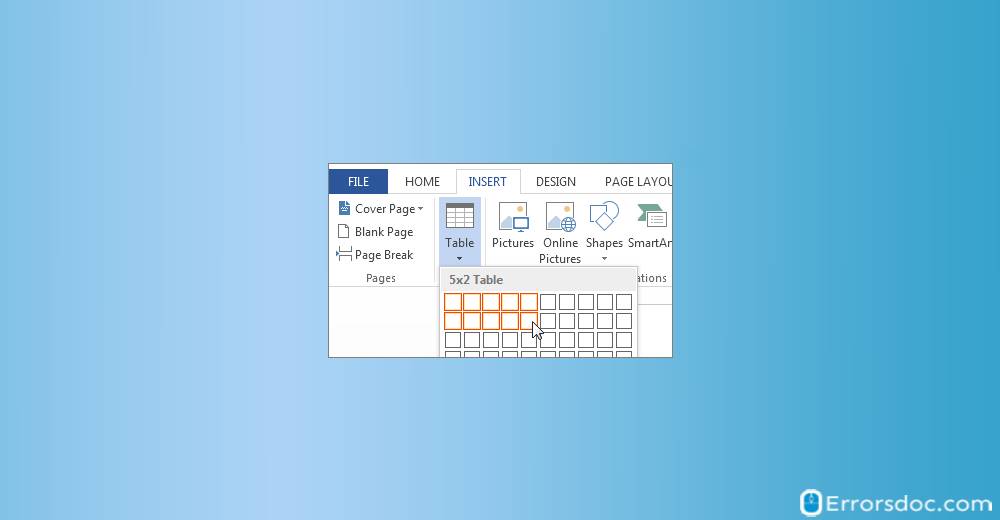
- At this point, you can click on the single cell and this will appear in your document.
- You can then enter the text and adjust the line based on your requirements. In the single cell text box, you can use different colors, fonts, sizes, and more.
In Google Doc, add text box with the help of a single cell in a quick way following the steps mentioned above. Although this option might not provide you a perfect layout or formatting as the Drawing tool does. But you can use a single cell feature as an alternate option to create a text box. So when somebody asks you how do you add a text box on Google Docs with a single cell table, you can show them these steps mentioned above.
Note: The aforementioned steps are not for how to add text box in Google Docs on phone. If you use Google Docs on the computer or laptop then you can implement these steps that are mentioned in this blog.
Conclusion
In Google Docs, it is fun to add a text box and customize it in your own way. If you want to know the procedure for how to add text box on Google Docs then this guide would surely help you. It covers three methods such as Drawing tools, shapes, and a single cell table to add the text box in Google Docs.
Apart from this, you can learn how to double space on Google Docs to make your document easy to read. Also, do not forget to read how to delete files from Google Drive?