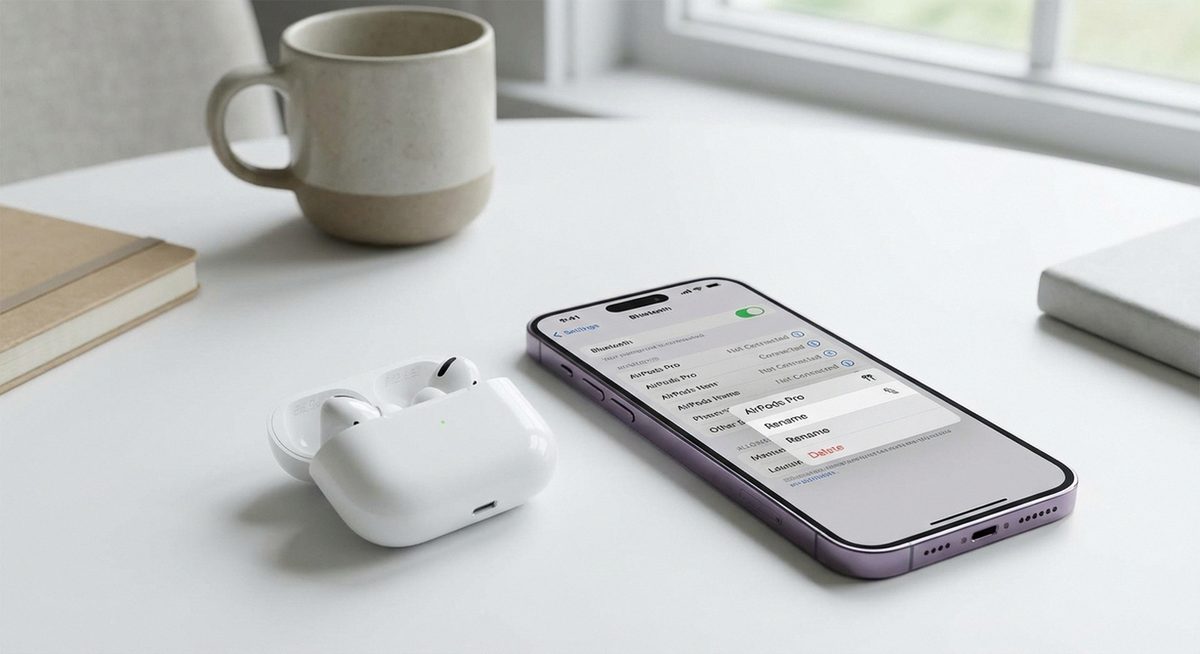
To change your AirPods name, connect them to your iPhone, go to Settings > Bluetooth, tap the i icon next to your AirPods, tap Name, and type your new name. This custom name appears on all devices when the AirPods are discoverable via Bluetooth, making them easier to identify among multiple devices.
Renaming is useful when multiple family members have AirPods, when you want to personalize your devices, or when switching between Apple and non-Apple devices where the default name causes confusion.
On iPhone: Settings > Bluetooth > tap (i) next to AirPods > Name > type new name > Done.
Method 1: Rename AirPods on iPhone or iPad
Connect Your AirPods
Open the AirPods case near your iPhone or put them in your ears. They should connect automatically.
Open Bluetooth Settings
Go to Settings > Bluetooth. Find your AirPods in the list of connected devices.
Tap the Info Button
Tap the (i) icon next to your AirPods name.
Tap Name and Rename
Tap the Name field at the top. Clear the current name and type your desired name. Tap Done on the keyboard.
Tip: Choose a short, unique name that is easy to identify. Avoid special characters that may not display correctly on all devices.
Method 2: Rename AirPods on Mac
Connect AirPods to Your Mac
Put your AirPods in your ears or open the case. Click the Bluetooth icon in the menu bar and select your AirPods, or go to System Settings > Bluetooth.
Open Bluetooth Preferences
Go to System Settings > Bluetooth (or System Preferences > Bluetooth on older macOS).
Right-Click or Control-Click Your AirPods
Find your AirPods in the device list. Right-click (or Control-click) and select Rename.
Type the New Name
Enter your desired name and press Enter. The name updates across all your Apple devices via iCloud.
Method 3: Rename AirPods When Using Android
AirPods work with Android devices but the renaming process differs from iOS.
Connect AirPods to Android
Open the AirPods case, press and hold the setup button on the back until the LED flashes white, then pair them via Settings > Bluetooth on your Android device.
Tap the Settings Icon Next to AirPods
In the Bluetooth settings, tap the gear icon or (i) button next to the AirPods name.
Rename the Device
Tap Rename or Device Name, type the new name, and tap OK or Save. Note: this name change only applies on the Android device, not globally.
Warning: Renaming AirPods on Android only changes the name on that specific Android device. The name on your iPhone/iPad/Mac remains unchanged. For a universal name change, rename on an Apple device — the change syncs via iCloud.
Why Change Your AirPods Name?
The default AirPods name includes your first name and AirPods model (e.g., John's AirPods Pro). Changing this is useful for privacy reasons in public Bluetooth scans, for distinguishing between multiple pairs in a household, for easier identification when switching between devices, or simply for personalization. A custom name also helps when troubleshooting Bluetooth connections since generic names like AirPods can cause confusion with nearby devices.
Frequently Asked Questions
No. Renaming only changes the display name in Bluetooth settings. All features including noise cancellation, spatial audio, and automatic switching work exactly the same.
Yes, when renamed on an Apple device (iPhone, iPad, or Mac) signed into the same Apple ID, the name syncs to all devices via iCloud.
Yes, you can use emojis in AirPods names on Apple devices. Some non-Apple devices may not display the emojis correctly in their Bluetooth menus.
Rename them back to the format: [Your Name]'s AirPods Pro. Or reset the AirPods entirely: hold the setup button on the case for 15 seconds until the LED flashes amber then white.
Ensure the AirPods are connected and recognized by your device. Try closing the case, waiting 10 seconds, reopening, and reconnecting. If the name field is not editable, restart your phone and try again.
Your AirPods name is visible to other Bluetooth devices during discovery (when looking for new devices to pair). Once paired, it is only visible on your devices.
Yes, the process is identical. Connect the AirPods Max, go to Bluetooth settings, tap the info button, and change the name.
AirPods names can be quite long, but keeping it under 20 characters ensures it displays correctly on all devices and Bluetooth menus.
No. Renaming is a one-time settings change stored in the AirPods firmware. It has zero impact on battery life.
Yes, but it causes confusion when both are discoverable. Give each pair a unique name to avoid connecting to the wrong pair.