Scroll through this article to know the exact steps to Uninstall Malwarebytes in the easiest way possible. There are multiple solutions listed for this process that can be executed according to the preference of the user.
How to Uninstall Malwarebytes from Windows?
Follow the steps mentioned below to know how to uninstall Malwarebytes from windows:
Solution No. 1
“Uninstall Malwarebytes Windows ” Anti-Malware via Programs and Features.
- Step 1: Turn On the system
- Step 2: Go to the option of Start that is on the extreme bottom-left corner of the screen
- Step 3: Now type “Uninstall a program” in the space available in the search box
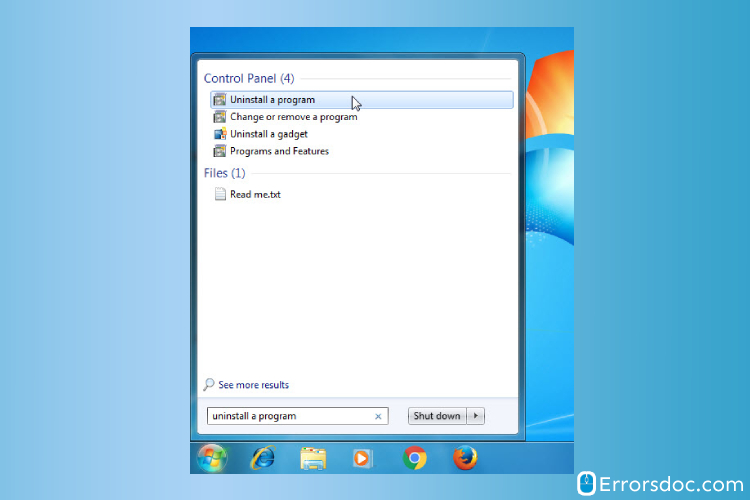
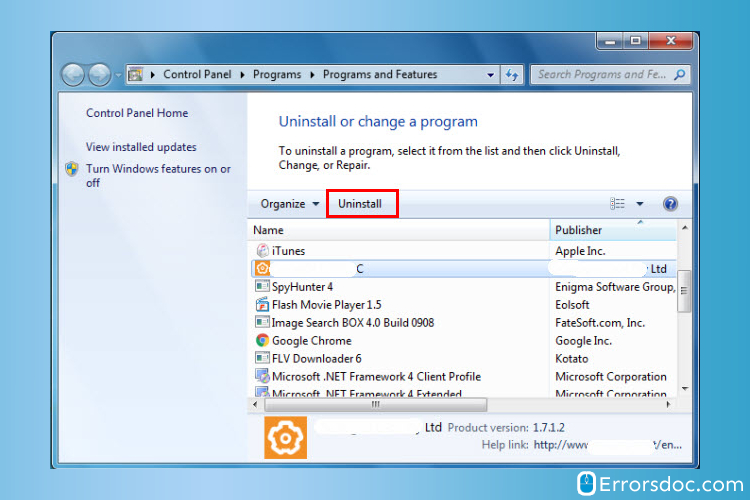
- Step 4: Once you spot a list in front of you, you must look for “Malwarebytes Antivirus”
- Step 5: Make a selection on it and then go for the option “Uninstall” to execute the process to Uninstall Malwarebytes.
Go to the next solution if this one is not helpful.
Solution No. 2
“Uninstall Malwarebytes Windows” Anti-Malware with its uninstaller.exe.
- Step 1: Turn On the system
- Step 2: Go to the computer folder and enter the C drive
- Step 3: In the C drive, you will be able to see a folder that will say “Program Files” located in the right-side panel
- Step 4: Click on the Program Files
- Step 5: Now you must enter the installation folder of Malwarebytes Antivirus
- Step 6: Once you are in the folder you have to locate the file that says “uninstall.exe” or “unins000.exe.”
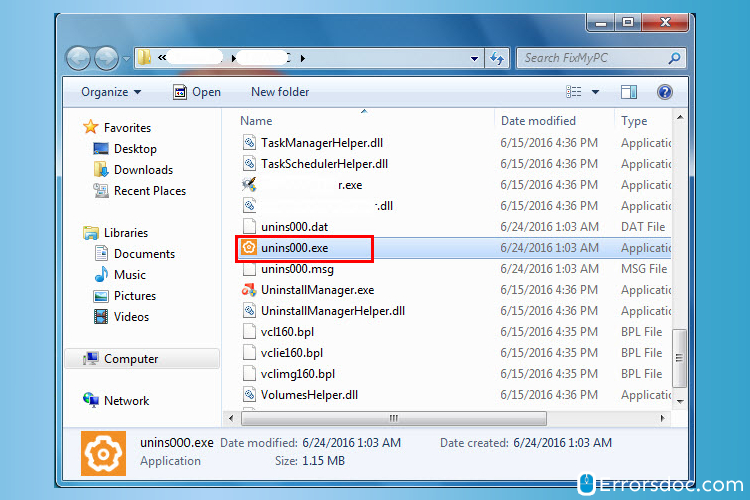
- Step 7: Now you will have to make a double selection on the uninstaller
- Step 8: Follow the on-screen instructions to uninstall Malwarebytes.
The solution mentioned below might be helpful if this one is not.
Solution No. 3
How To Uninstall Malwarebytes Anti-Malware via System Restore
- Step 1: Turn On the system
- Step 2: Make sure that there are no files open on the system and if there are any, you must close them all
- Step 3: Now go for the Computer icon and make a right-click on it.
- Step 4: Hit the option of properties after that
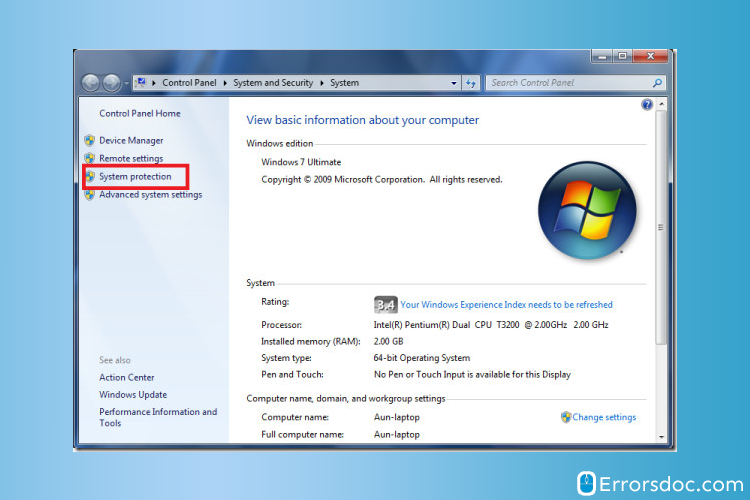
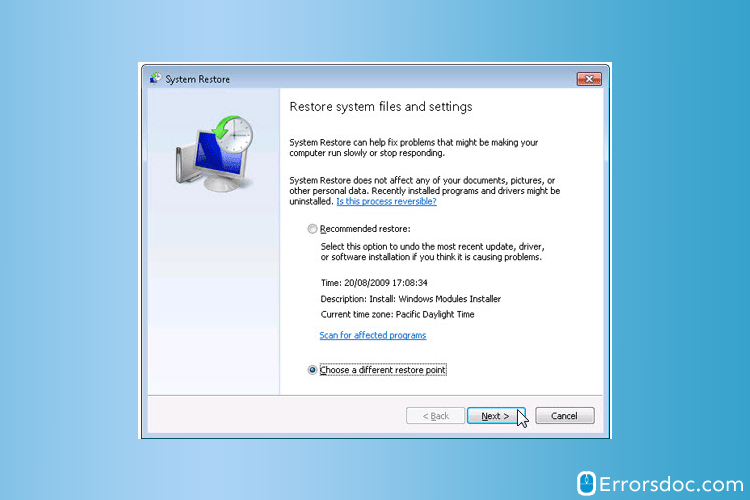
- Step 5: Once you see the system windows make a selection on the System Restore

- Step 6: Go for the option of “Choose a different restore point”
- Step 7: Select on the option of Next on the screen
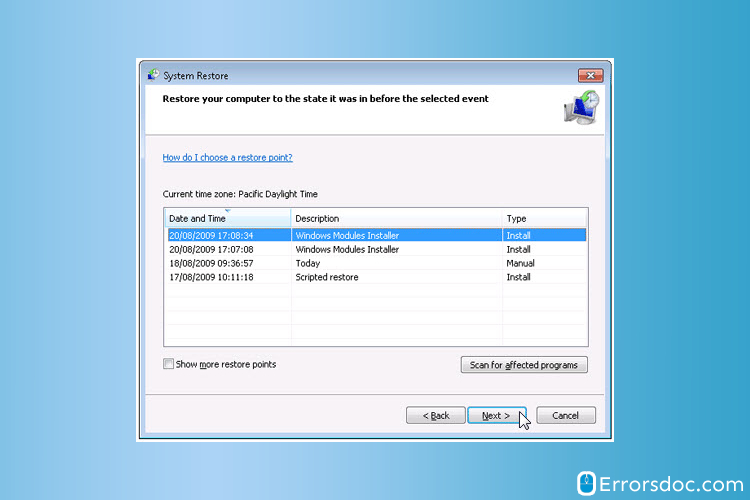
- Step 8: Now you will have to choose a date along with the time from the list in front of you. Select “Next” again. (FYI, all the programs and the drivers as well create a problem in the functioning that will be installed after the date and time selected
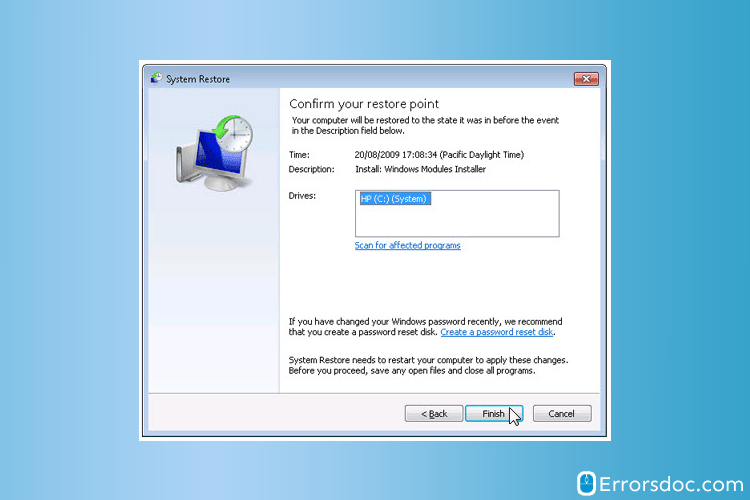
- Step 9: Once you witness the window that says “Confirm your restore point” make a selection on “Finish”
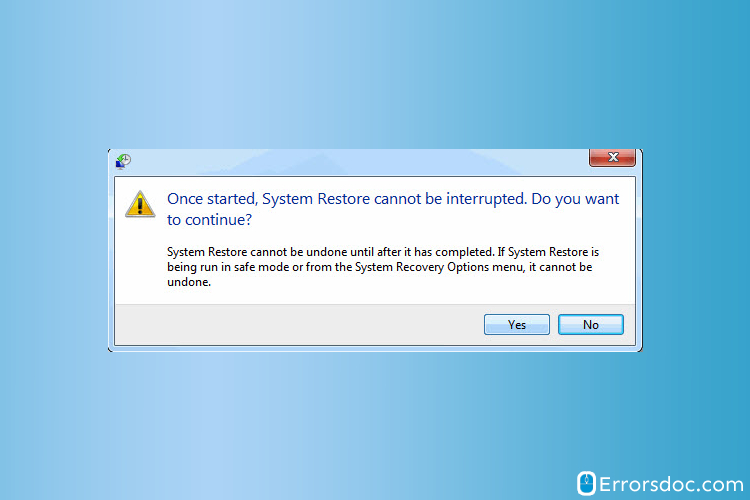
- Step 10: Make a selection on Yes for confirmation
The solution mentioned below is known to be very useful.
Solution No. 4
Use the Uninstall Command Displayed in the Registry.
- Step 1: Turn On the system
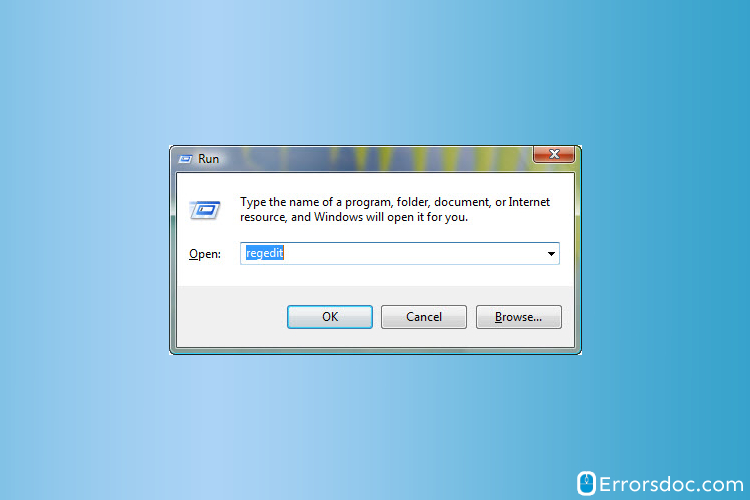
- Step 2: Press Windows key and the R key to launch the Run command
- Step 3: Now type “Regedit” in the search box and make a selection on “Ok”
- Step 4: Locate the Malwarebytes Anti-malware while navigating through the registry key
- Step 5: Now you must find the “UninstallString” value and double click on it
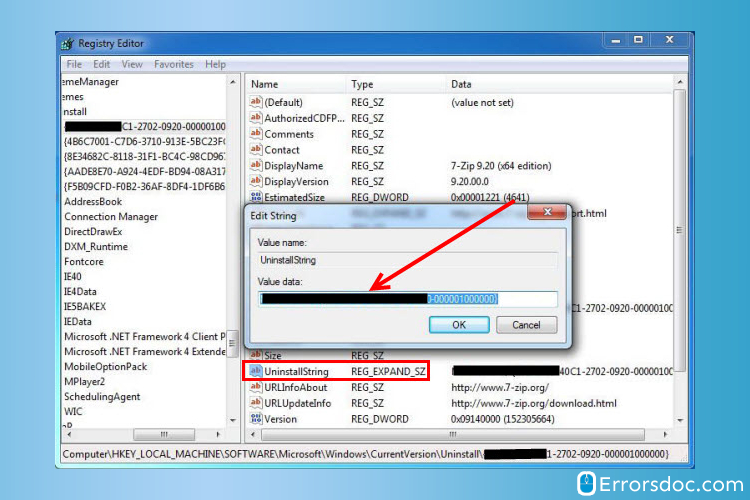
- Step 6: When you see the Value data, you must copy it
- Step 7: Hit the Windows key and R key together to launch the Run command
- Step 8: Now you must paste the Value data that you had copied earlier.
- Step 9: Hit “Ok” now
- Step 10: Mow you must follow the wizard in order to Uninstall Malwarebytes Anti-Malware
Give a shot to the solution mentioned below.
Solution No. 5
Delete the Malwarebytes residual files
Step 1: Turn On the system
Step 2: Go to the option of Start that is on the extreme bottom-left corner of the screen
Step 3: Now you must type “This Pc” in the search box in front of you
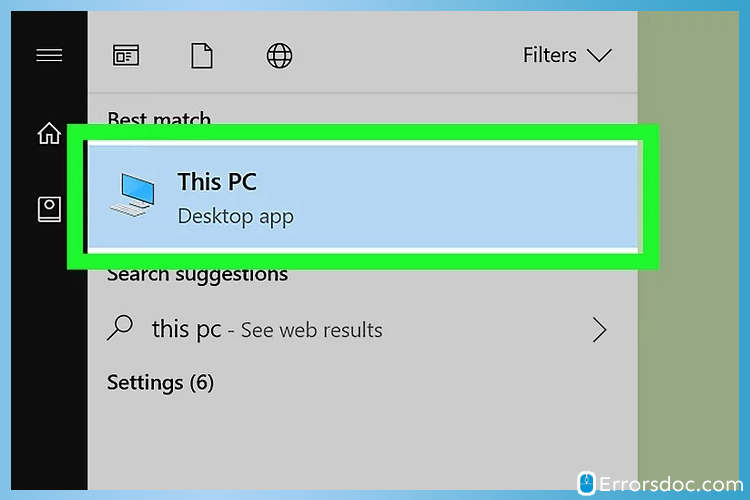
Step 4: Once you see the This Pc icon, you must select it by double-clicking on it
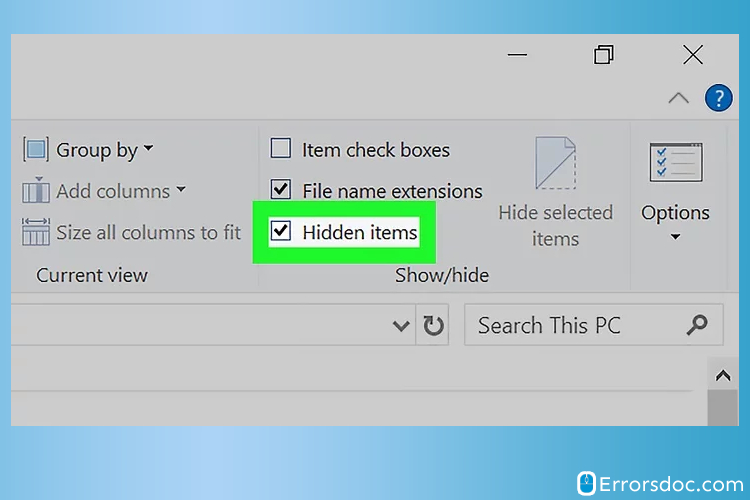
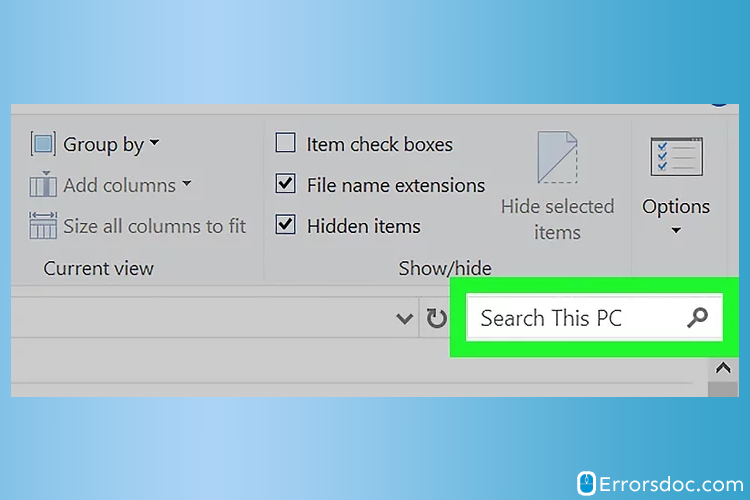
Step 5: After opening it, just enable the Hidden files and folders. To do so, click on the tab on the top that says “View”. After that select on the “Hidden items” option that is present in the box of “Show/Hide” of the toolbar. Make a selection on the search bar as well that is on the upper right-hand side of the window
Step 6: Now you must look for the Malwarebytes residual files for which you must type “Malwarebytes” in the space provided in the search box. Now hit on “Enter” after searching in order to see the results
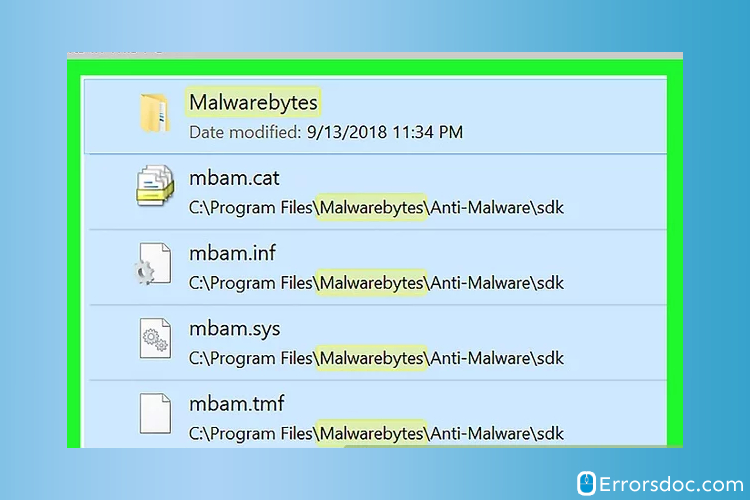
Step 7: Make a selection on any file that is available with the “Malwarebytes” in the tiles itself. Now hit on “Delete”. This step will help you to delete any Malwarebytes files

Step 8: Locate the icon of the Recycle Bin and double-click on it in order to open it. Now you may select on the option of Manage that is on the top of the Windows. End up by making a selection on the option of “Empty Recycle Bin” located on the extreme left side. This will empty the Recycle Bin
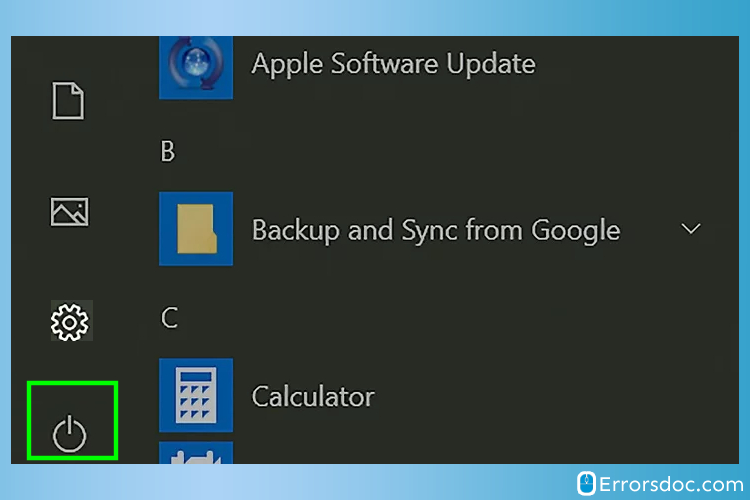
Step 9: Go to the option of Start that is on the extreme bottom-left corner of the screen
Step 10: Make a selection on the Power button of the hit the option of Restart that is present in the pop-up window. After the Windows finishes the restart process, the traces of Malwarebytes will be gone
How to Uninstall Malwarebytes from Android?
Solution No. 1
Use Google Play to uninstall Malwarebytes from Android
Follow the steps mentioned below to uninstall Malwarebytes android:
- Step 1: Begin by going for the Google Play Store app.
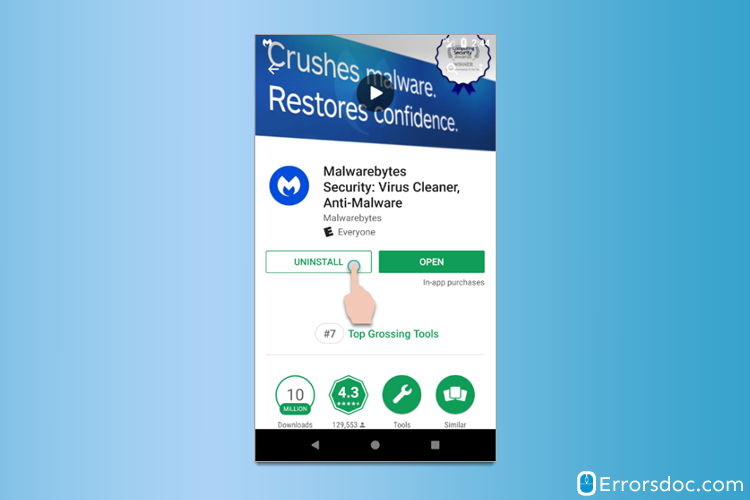
- Step 2: When you see the search bar, you must type “Malwarebytes for Android”.

- Step 3: Once you see the results, you must select “Malwarebytes”
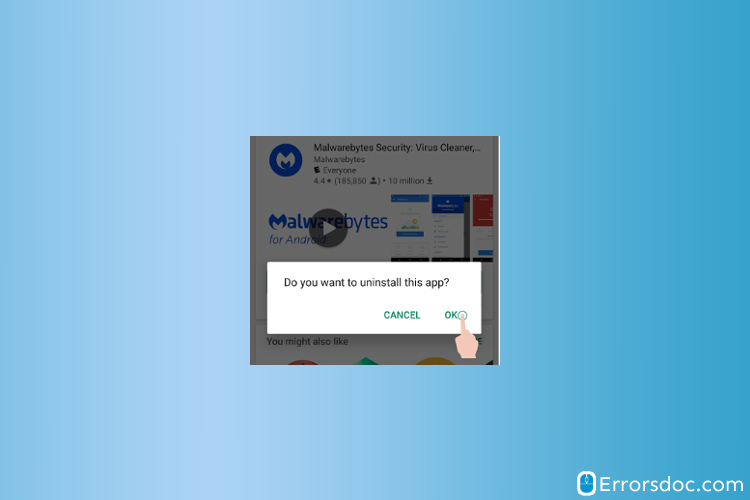
- Step 4: Make a selection on the option of “Uninstall”
- Step 5: Once the confirmation window appears on the screen, click on Ok in order to Uninstall Malwarebytes
Solution No. 2
Uninstall Malwarebytes within the app itself:
Follow the steps mentioned below to uninstall Malwarebytes android:
- Step 1: Go to the Malwarebytes on the Android device you are using.
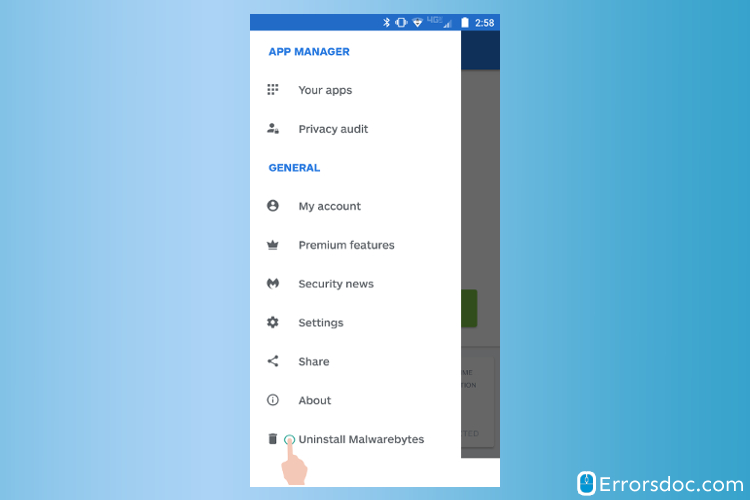
- Step 2: Click on the menu icon that is on the top-left of the screen.
- Step 3: Make a selection on the option of “Uninstall Malwarebytes” that must be located under the General option.
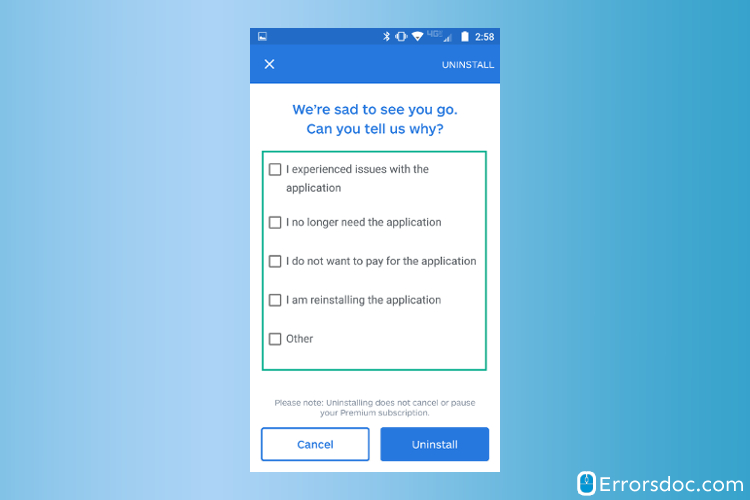
- Step 4: When you see the reasons on the screen that state “Why do you want to delete Malwarebyte”, make a selection on the one that is most suitable to you. Do this by clicking on the checkboxes which best describe.
- Step 5: Click on Uninstall.
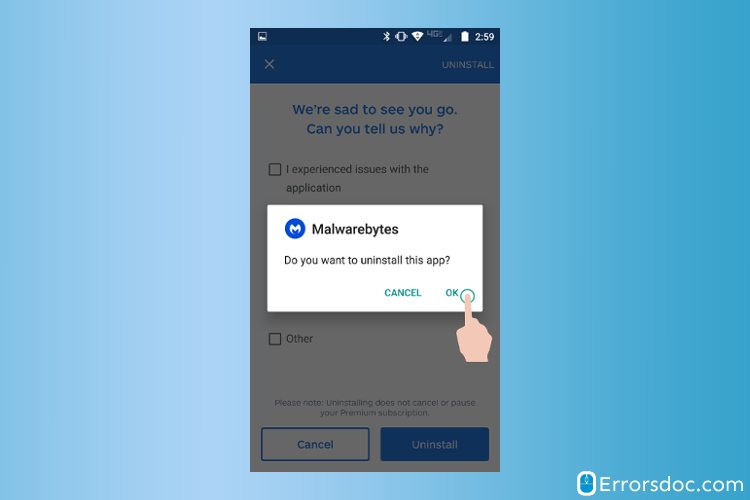
- Step 6: Now must confirm that you want to uninstall Malwarebytes. Click on “OK” in order to uninstall the app.
Download and run the Malwarebytes Support Tool Or Malwarebytes Uninstall Tool :
- Step 1: Turn On the system
- Step 2: Now close the applications that are open on the system.
- Step 3: Make sure that you have an internet connection in order to execute the following step. You have to download the Malwarebytes uninstall tool
- Step 4: Make a selection on the option of “Yes” or “Save” whenever you are asked to save the file.
- Find the Downloads folder and to open it you will have double click on it
- Step 5: Make a double selection on the mb-support-x.x.x.xx.x.exe file.
- Step 6: Now hit the option of “Yes’ in case you are prompted by the User Account Control that will help you to save the changes executed in the system
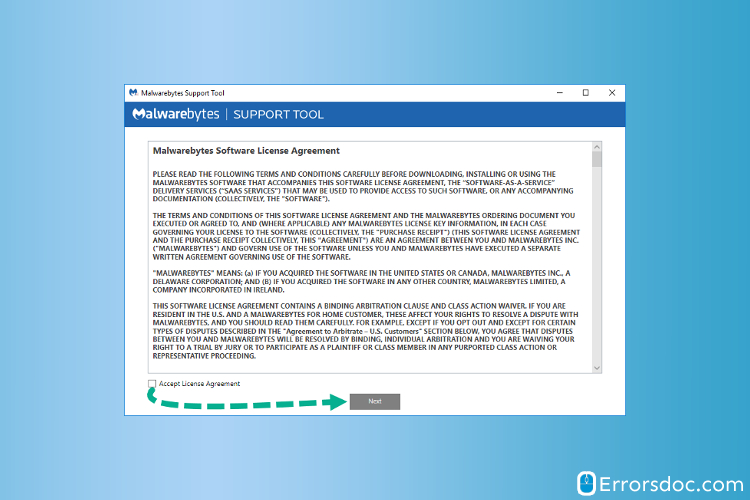
- Step 7: Now make a selection on the option of “Accept License Agreement” and end up by clicking on the option of “Next”
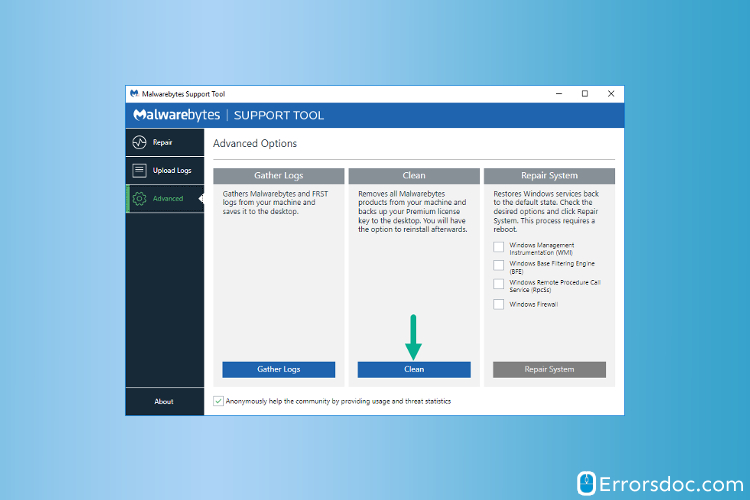
- Step 8: Under the Menu Pane make a selection on the option of “Advanced”

- Step 9: Hit the option of “Clean”
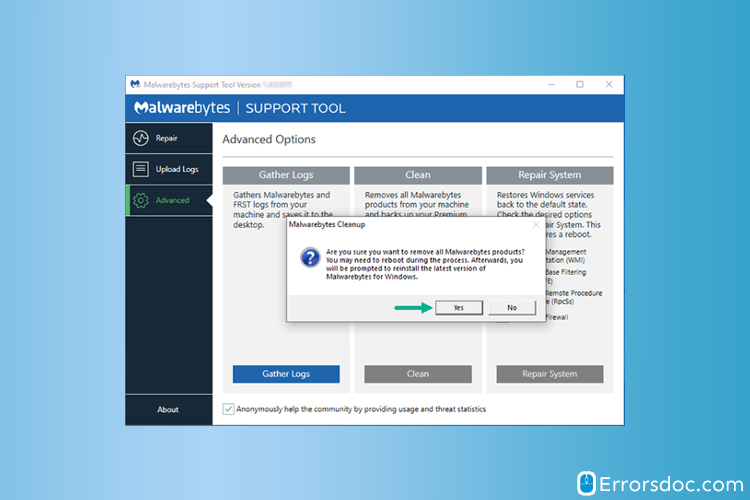
- Step 10: In order to proceed you will have to click on “Yes”. You will have to wait for a while as this may take some time
- Step 11: After this, there will be the support tool will display a prompting message that will ask you to reboot the system.
- Step 12: Now you must save all the work by selecting on the option of “Ok” once you are ready to reboot

- Step 13: Make a selection on the option of “Yes” only when the Malwarebytes Support Tool reopens and showcases a message that asks whether you want to Re-install the latest version of the Malware for Windows.
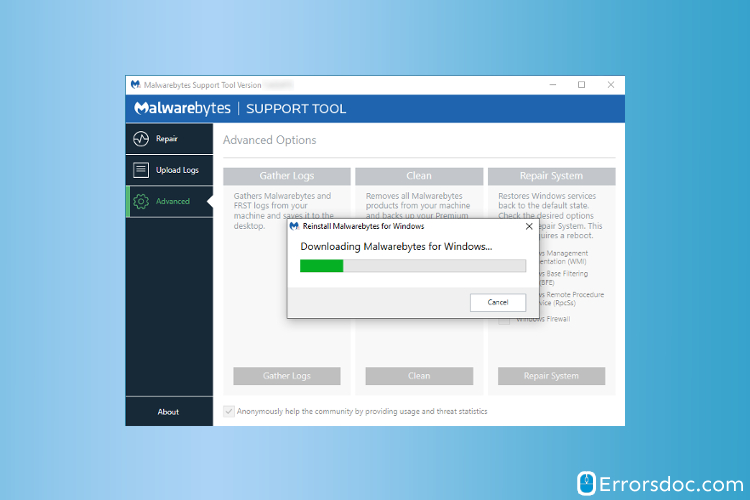
- After the installation process will be completed the Malwarebytes dashboard will be opened.
The aforementioned solutions are not exhaustive but are known to be very effective and efficient. Just in case you were not able to find the solution to the issue of “Uninstall Malwarebytes” then you must get in touch with a professional. The expert assistance at ErrorsDoc are well-versed with such issues and can provide quick solutions via chat. The entire process is both time and money-saving.
Other Useful links