Are you on the lookout for easy methods for how to wipe a computer Windows 7? You’ll be really glad to know that we have the most awesome methods to wipe not just Windows 7 computers but Windows XP, Windows Vista, Windows 8, and Windows 10 as well! For all the Windows users, each helpful method can be accessed in this space. So, let’s get started with tons of helpful Windows update wiped computer methods.
Method 1: How do I Wipe My Computer Clean Windows 7 without a Disc?
To wipe computer Windows 7 without the use of a disc, you will need to create a recovery partition. So, in this detailed method, we will tell you how to wipe your Windows 7 system by creating a recovery partition first and then wiping it. This method has been elaborated in 18 steps below.
1. Empty some space on your hard disk for the recovery partition.
2. Now, press “Start” and click on “Control Panel”.
3. Type in “Administrative tools” in the search box and click it open.
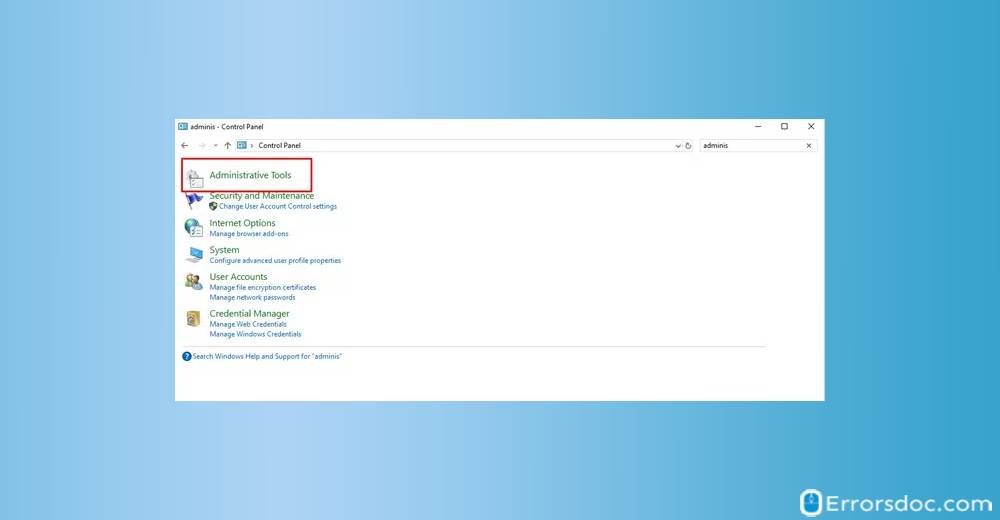
4. Click on “Computer management” and go to “Disk management” in the “Storage sub-menu”.
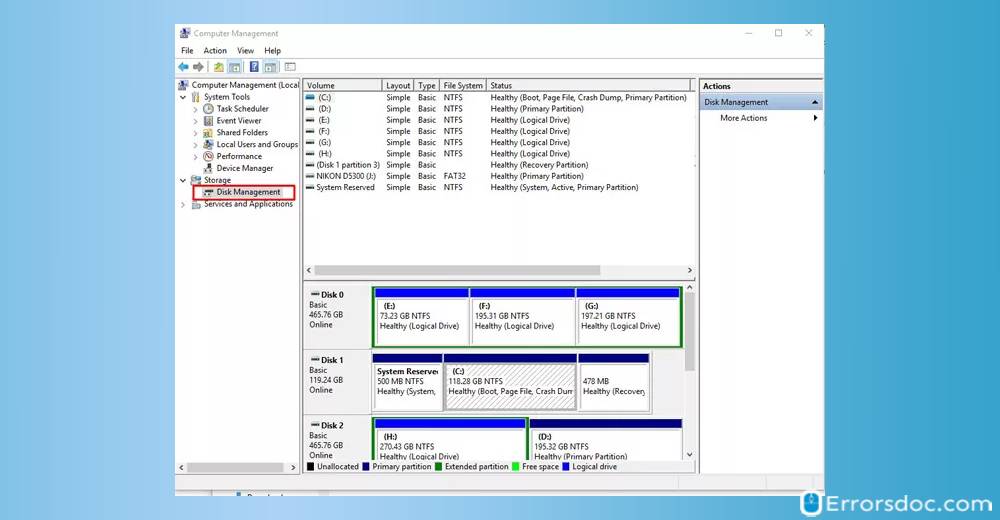
5. Select and right-click on the local drive that has space.
6. Click on “Shrink volume’ in the menu, fill in the space required for the recovery drive. Then tap “Shrink”.
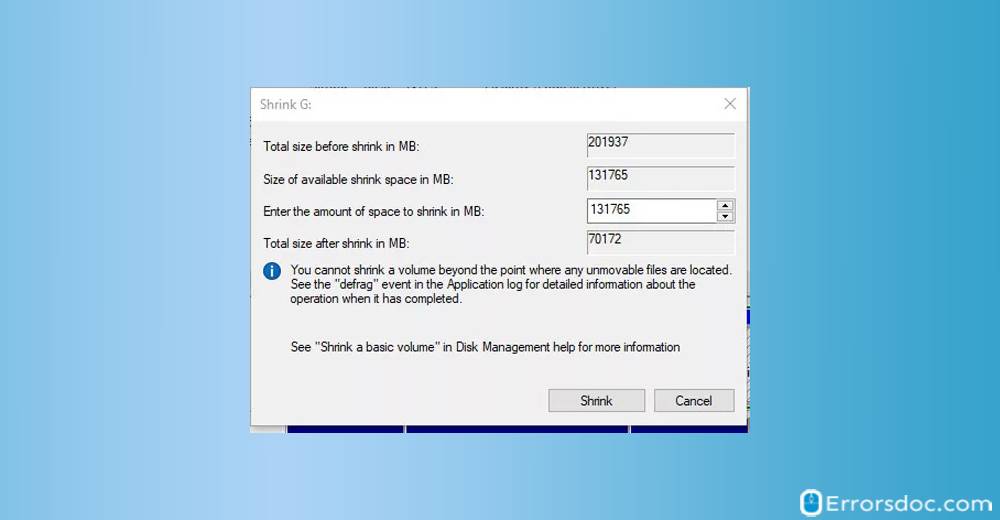
7. Right-click on the new drive space that is unallocated. Then tap “New partition”. Then you will have to assign the space that is unallocated to the drive. Now, format the drive to make the partition.
8. Click on “Start”. Type in “Backup”. Then find and click on “Backup and restore center”.
9. Press “Set up backup” and select the new partition created.
10. Select the option “Let me choose”. When a file browser opens, tap the “Arrow icon disk drive”.
11. Select “Include a system image of drives” and press “Next”. Check that the right drive has been selected for recovery after the reset.
12. Now, press “Start” and go to “Control Panel”.
13. Tap “System and security panel” and choose “Backup and restore”
14. Tap “Recover system settings” or the “computer link”.
15. You will be required to select the advanced recovery methods.
16. Tap “Return your computer to factory condition” from the 2 options displayed.
17. Select “Back up now”. You can also click on “Skip” to factory reset without the backup.
18. Tap “Restart” for rebooting your system and initiating factory reset. You will be notified when the procedure is complete.
Method 2: How Do You Wipe a Computer Windows 7 with Data Wiper?
Here is a simple method to guide you with wiping your Windows 7 computer with the help of the Data Wiper Portable Edition. This method is small and can be administered in only 8 steps. Now, let us start reading these steps.
1. First, download the “Data Wiper Portable Edition” on your Windows 7 computer.
2. Then without installing it, run it on your system.
3. In the “Wiping method” column, you have to choose “Entire drive”.
4. Now, choose the “Security level” from the following:
“Start sectors with zero”
“Fill sectors with one”
“Fill sectors with zero&one”
“DoD 5220.22-M (3 passes)”
“DoD 5220.28-STD (7 passes)”
5. Choose the disk that has the “System partition”.
6. Tap the option “Wipe now”.
7. In case a warning message appears, press “Yes”.
8. Lastly, press “Wipe” to confirm and continue.
Note for You: Data Wiper Portable Edition will remove everything from the disk when you select the option of “Entire drive”. This will include your personal information as well.
Method 3: How to Wipe Computer Clean Windows 7 via Control Panel?
You can wipe your Windows 7 computer right from the Control Panel and then reinstall the Windows on your system. In this method, we will also share with you the steps for backing up your data on an empty DVD or a USB drive. This method to wipe your computer involves 13 steps.
1. The initial step is to create a backup. For this, you can utilize a server or an external hard drive.
2. Then figure out the storage space needed. You can also right-click on your drive’s icon to check the storage space that is used and available.
3. You can choose a USB drive or an empty DVD to transfer the backup files. After you have selected the device for keeping the backup, insert the backup device. Then drag the files to it.
4. The next step is to remove programs. The software licenses for the computer programs you wish to use further will have to be sorted. Then remove the other programs. For this, open the “Control Panel”, go to “Programs”, and tap “Uninstall a program”.
5. Now, remove the contents of your hard drive. For this, you can drag the contents of the “Music” folder, “Documents”, and “Pictures” to the “Recycle bin”.
6. Then right-click on the “Recycle bin” and delete its contents.
Note for You: This step may not remove all the contents from your Windows 7 computer. You can use the “Eraser” tool for this purpose.
7. To clean up your Windows 7 computer, use “DBAN”. Download it first and then copy it to a DVD. Please do not unzip this file on your system.
8. Then restart your system. The DVD should be placed in. Give permission to DBAN to wipe the contents of your system.
9. The next step is to reinstall Windows. For this, open the “Control Panel”.
10. Type “Reinstall Windows”. Then click on the “Advanced recovery methods” option in the “Recovery menu”.
11. Tap “Reinstall Windows”.
12. Clear all the cookies and browsing history from your Windows 7 computer.
13. The final step is to “Sign out” of “Google Chrome”.
Method 4: How to Wipe My Computer and Reinstall Windows 7 via Factory Reset?
In this part of the blog, you can find the procedure for wiping your Windows 7 computer by factory resetting it. This procedure can be performed in just 7 steps without the use of any installation disc.
1. Tap the “Start” button on your PC’s keyboard.
2. Click on “Control Panel”.
3. Go to “System and security”.
4. Click on “Backup and restore”.
5. Tap “Recover system settings or your computer”.
6. Tap “Advanced recovery methods”.
7. You will see 2 options displayed on your screen, “Use a system image you created earlier to recover your computer” and “Return your computer to factory condition”. Select the second option.
Note for You: In case your computer does not have a preinstalled recovery partition, then you will see the option “Reinstall Windows (requires Windows installation disc)” instead of the factory reset option.
Method 5: How to Wipe a Computer Windows 7 via Commands?
Now, let us learn how to wipe a Windows computer via commands. This method will be suitable for the users of Windows 7. For this, we will use the Windows 7 USB DVD Download tool. Read the 15 steps given here to learn the usage of this tool for wiping the Windows 7 computers.
1. The first step is to download the Windows 7 disk image files.
2. Next, download the “Windows 7-USB-DVD-Download-Tool-Installer-en-US.exe tool”. This tool will help you to burn the Windows 7 bootable disk.
3. Now, open this file and do as directed by the wizard for setting up the “Windows 7 USB DVD Download Tool”.
4. Open the tool and select the “ISO file”. Then press the “Next” button.
5. The next step is to choose the “USB device” for burning the “ISO file” on the “USB flash drive”. As an alternative, you can burn the “ISO file” on the “DVD disk” via the “DVD”.
6. Choose the removable disk from the dropdown menu visible.
7. Then press the “Begin copying” button.
8. You may see a pop-up window asking you to erase the removable disk selected. Then press “Erase USB device”. If the removable disk has any important files, then make a backup. In case the pop-up window does not appear, simply press “Cancel” and backup your data.
9. Keep the Windows installation media connected to your system when it is complete. Provide the “Firmware” to allow your computer to boot from this Windows installation media.
10. The next step is to enter the “WinPE” and tap “Next”.
11. Click on the option “Repair your computer”. Then press “Next”.
12. Select the “Command prompt”.
13. Enter the commands given here one at a time. Then delete the partitions on the disk.
“Diskpart”
“List disk”
“Select disk 2”
“Clean all”
“Create partition primary”
“Format fs=ntfs quick”
“assign letter = f”
Note for You: For those of you who are using multiple disks, choose them one by one and then clean. While formatting the partition, the file system should be “NTFS” or “FAT32”. For a partition bigger than 32 GB, the “NTFS” file system should be preferred. Also, one partition needs to be made for installing the OS. Once the OS has been reinstalled, manage the partitions and disks.
14. Now, leave the “cmd” window.
15. Finally, reinstall the OS on your system.
Note for You: When you use the Windows 7 installation media, you will be able to install Windows 7 on your PC. To remove everything from your system and install Windows 10, you will require the Windows 10 installation media.
Method 6: How to Wipe a Computer Windows 8 without Installation Disc?
The users of Windows 8 can learn the most convenient way to wipe out their computers without an installation disc in this part of the blog. This method will not erase all your data completely. Your personal files and any downloaded applications will be secured. Now, let us find out how to wipe Windows computer in only 6 steps.
1. First of all, press the “Windows” key together with the “C” letter key to access the “Charms bar”.
2. Then click on “Settings”.
3. Select the option of “Change PC settings”.
4. Go to “General”. Scroll down to access and choose the option “Refresh your PC without affecting your files”.
5. Tap “Get started” and then press “Next”. This step will refresh your computer. Also, your personal files as well as the downloaded apps will be saved. The desktop programs that have been installed will be removed.
6. Now, wait for some time to let your Windows 8 computer complete the process. When this process is complete, you will be shown the list of apps that were erased.
Method 7: How to Wipe My Computer Clean Windows 10 via Factory Reset?
Do you know how to wipe Windows 10 computer by performing a factory reset? You can learn it right here! Before you start to wipe your Windows 10 computer, we will suggest you to back up the files that are important. You can use an external storage device to create this backup. Now, read the 5 steps given below to wipe your pc in no time.
1. Press the “Power” button. While tapping “Power”, press the “Shift” key.
2. Then press the “Restart” button for booting into “WinRE”.
3. Then go to “Troubleshoot”.
4. Click on “Reset this PC”.
5. 2 options will be displayed on your screen, “Keep my files” or “Remove everything”. Continue with one of these options to complete the process.
Note for You: When you select the option “Keep my files”, the Windows 10 will be reinstalled to your computer. In case you select the option “Remove everything”, the Windows 10 will be reinstalled to your PC and in addition to that, your personal files will be deleted. Also, if you are going for the second option, we will suggest you to select the “All drives” option accompanied by that. This will make the state of your computer as good as new.
Method 8: How to Wipe a Computer Windows 10 via Commands?
One of the less complex ways to wipe computer Windows 10 is through the commands. To help you perform this method without any mistakes, we have mentioned a detailed procedure below. Read the 13 steps of this method to wipe your Windows 10 computer via commands.
1. First, download the Windows 10 disk image files.
2. Then download the “Windows 10-USB-DVD-Download-Tool-Installer-en-US.exe tool” to burn the Windows 10 bootable disk.
3. Once the file has been downloaded, open it and go through the wizard for setting up the “Windows 10 USB DVD Download tool”.
4. Run the tool and select the “ISO file”. You can also enter the name and path of the file in the “Source File box” and press “Browse”. Then press “Next”.
5. Next, choose the “USB device” for burning the “ISO file” on your “USB flash drive”. You can also choose a “DVD” for burning it on your “DVD disk”.
6. Click on the dropdown menu, choose a removable disk, and press the “Begin copying” button.
7. A warning will appear for erasing the removable disk chosen. Tap “Erase USB device”. Also, ensure that the removable disk contains no crucial files. In case the warning does not appear, press “Click” and then back up your data.
8. When the Windows installation media is over, keep it connected to your system. Then provide the “Firmware” for booting your computer from the Windows installation media.
9. Next, fill in the “WinPE” and press “Next”.
10. Tap the option “Repair your computer” and press “Next”.
11. Select the “Command prompt”.
12. Now, enter the commands given below for removing all the partitions present on the disk.
“Diskpart”
“List disk”
“Select disk 2”
“Clean all”
“Create partition primary”
“Format fs=ntfs quick”
“assign letter = f”
Note for You: Are you using more than one disk for this purpose? If yes, then you will have to choose them and clean them one after the other. The file system should be “FAT32”/”NTFS” when the partition is formatted. In case the partition is bigger than 32 GB, then you should opt for the “NTFS” file system. And for installing the OS, just one partition can be created. You can manage the disks and partitions when the OS has been reinstalled.
13. Leave the “cmd” window and go ahead with the reinstallation of the OS.
Methods 9: How Do I Wipe My Computer Clean Windows XP with Installation Disc?
Do you know how to wipe a computer Windows XP? We know the best method to do it. You will need the Windows XP installation disc to go head with this method. A complete overview of this method has been shown below in just 8 steps. Start reading these steps to perform this method.
1. Begin with creating a backup of your important computer data.
2. Next, insert the Windows XP installation disc in the optical drive.
3. Now, you have to restart your Windows XP computer.
4. On your computer’s keyboard, tap any key when a prompt appears for opening up the “Setup” window.
5. Then tap the “Enter” key for choosing an option to set up Windows XP.
6. Next, press “F8” for accepting the license agreement.
7. Tap the “Esc” key for installing the new copy of Windows XP.
8. Then go through the instructions shown on your computer screen.
Note for You: You may be required to fill in the Windows XP product key. Therefore, we will suggest you keep it handy with you to save time.
Method 10: How to Wipe My Computer Windows Vista?
Many users find it a bit complex to wipe their Windows Vista computers. So, here we have simplified the process for you. Check out how to wipe a computer Windows Vista without any difficulty in this section of the blog. This process is only 9 steps long.
1. Go to the “Start” menu on your Windows Vista computer.
2. Choose “All programs”.
3. Then tap on “All accessories”.
4. Select the option of “System tools”.
5. Then tap “System restore”.
6. You will find a radio button near the restore point. Choose the button.
7. Then press “Next”.
8. “C:/ drive” should be checkmarked for restoration.
9. Then press “Finish”.
Note for Your: Once this process is complete, your Windows Vista computer will be restored to an earlier date chosen by you. This method will not affect your personal files as well.
To Summarize the Above
Full of important notes and easy-breezy methods, this blog showed you how to wipe computer and reinstall Windows. For the users of Windows 7, Windows XP, Windows Vista, Windows 8, and Windows 10, this blog is just perfect to learn these methods. Did we miss anything? Let us know in the comment section below. Your Feedback will really help us!
Hey ErrorDoc fans! Learn how to update drivers in Windows 10 automatically with the ease of our knowledge. And what’s more? You can also know the safest ways to turn off Windows 10 updates with us. Read hem now!