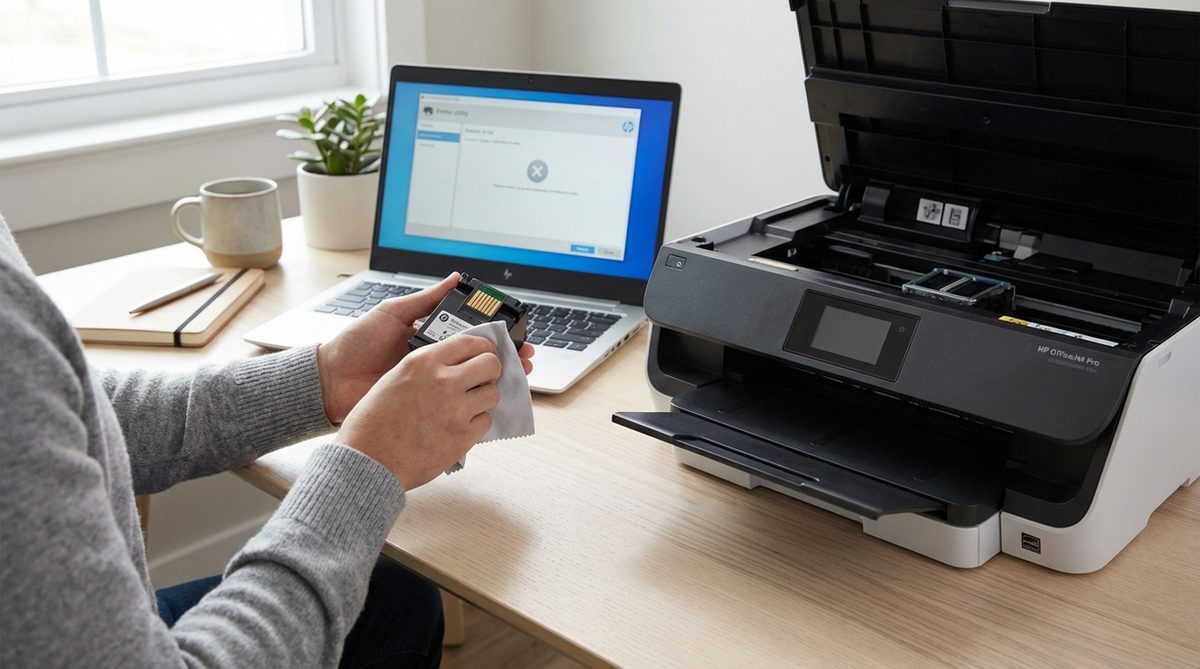
If you are dealing with a HP missing printhead issue, you are not alone. This is one of the most commonly searched HP problems, and the good news is that it can be resolved with a few targeted troubleshooting steps. The error typically occurs due to failed printhead error issues, and addressing the root cause prevents it from recurring.
Understanding what triggers this problem helps you apply the right fix the first time. In most cases, the issue stems from printhead cleaning, outdated software components, or incorrect configuration settings. This guide covers every proven solution so you can get back to work quickly.
We have organized the solutions from simplest to most advanced. Start with Method 1 and work your way down until the issue is resolved.
Try restarting the application and checking for failed printhead error first. If that does not work, proceed to the detailed methods below for a permanent solution.
HP missing printhead — This typically indicates a failed printhead error issue that can be resolved through the methods described below.
Method 1: Basic Troubleshooting for HP missing printhead
Before diving into advanced fixes, start with these fundamental troubleshooting steps that resolve the issue in most cases.
Restart and Check for Updates
Close the application completely and restart your computer. Check for any available software updates, as many HP missing printhead issues are fixed in recent patches.
Verify Your Failed Printhead Error Configuration
Open the settings panel and verify that your failed printhead error configuration is correct. Incorrect settings are the most common cause of this error.
Clear Cache and Temporary Files
Corrupted temporary files can trigger persistent errors. Clear the application cache and any temporary data stored on your system.
Tip: After each method, test whether the issue is resolved before moving to the next one. This helps you identify which solution worked.
Method 2: Fix Failed Printhead Error Settings
If the basic troubleshooting did not resolve your HP missing printhead problem, the issue likely lies in your failed printhead error configuration.
Access the Configuration Panel
Navigate to the settings or preferences area where failed printhead error options are configured. Look for any warnings or error indicators.
Reset to Default Values
If you are unsure which setting is causing the problem, reset all failed printhead error settings to their defaults. This eliminates any misconfiguration.
Reconfigure Step by Step
After resetting, reconfigure your settings one at a time. Test the application after each change to pinpoint the exact setting that triggers the error.
Save and Verify
Once the correct configuration is in place, save your settings and perform a full test to confirm the HP missing printhead issue is resolved.
Method 3: Advanced Printhead Cleaning Resolution
When standard methods fail, the HP missing printhead problem may be rooted in printhead cleaning issues that require deeper intervention.
Run Diagnostic Tools
Use the built-in diagnostic or repair tools to scan for printhead cleaning problems. These tools can automatically detect and fix common issues.
Update or Reinstall Components
Outdated or corrupted components are a frequent cause. Uninstall the affected component, download the latest version, and perform a clean installation.
Check System Compatibility
Verify that your system meets all requirements. Incompatible hardware or software versions can trigger persistent HP missing printhead errors.
Warning: Before making system-level changes, create a backup of your important data. Some advanced troubleshooting steps may affect other applications or settings.
Method 4: Repair or Reinstall the Application
If none of the above methods resolved the HP missing printhead issue, a repair installation often fixes corrupted program files.
Try the Repair Option First
Go to your system's Programs and Features (Windows) or Applications folder (Mac). Select the application and choose Repair if available.
Perform a Clean Reinstall
If repair does not help, uninstall the application completely, restart your computer, and install a fresh copy from the official source.
Restore Your Settings
After reinstalling, import your backed-up settings and data. Test thoroughly to confirm the error is gone.
Why Does This Problem Happen?
The HP missing printhead problem occurs because of underlying failed printhead error or printhead cleaning issues within the application or system. When the software cannot complete its expected operation due to these factors, it generates an error to alert you. The root causes range from simple configuration mistakes to deeper software corruption or compatibility conflicts. Understanding these causes helps you not only fix the current error but also prevent it from happening again in the future.
Frequently Asked Questions
The most common causes are failed printhead error misconfiguration, outdated software, corrupted files, and printhead cleaning issues. Running the built-in diagnostic tool can help identify the specific cause.
Start by restarting the application and your computer. Then check your failed printhead error settings and clear the cache. This resolves the issue in about 70% of cases.
In most cases, no. The error prevents a specific operation from completing but does not delete or corrupt your existing data. However, always maintain regular backups as a precaution.
This issue can occur on both platforms, though the specific steps to fix it differ slightly. The core troubleshooting approach — checking failed printhead error and updating software — applies to both.
Recurring errors usually indicate an underlying printhead cleaning problem that was not fully resolved. Follow Method 3 above for a permanent fix rather than just clearing symptoms.
Check the official support page for the latest updates and patches. Many common errors are addressed in software updates released after the issue was first reported.
If you have tried all the methods in this guide without success, contacting official support is recommended. Have your error details and system information ready to speed up the process.
Yes, security software can sometimes interfere with application processes. Try temporarily disabling your firewall or antivirus to test, and add an exception if that resolves the issue.
Most users resolve this error within 15-30 minutes using the basic troubleshooting methods. Advanced methods may take up to an hour if a reinstallation is needed.
A clean reinstall fixes the error in the vast majority of cases because it replaces all potentially corrupted files. Make sure to back up your settings before reinstalling.