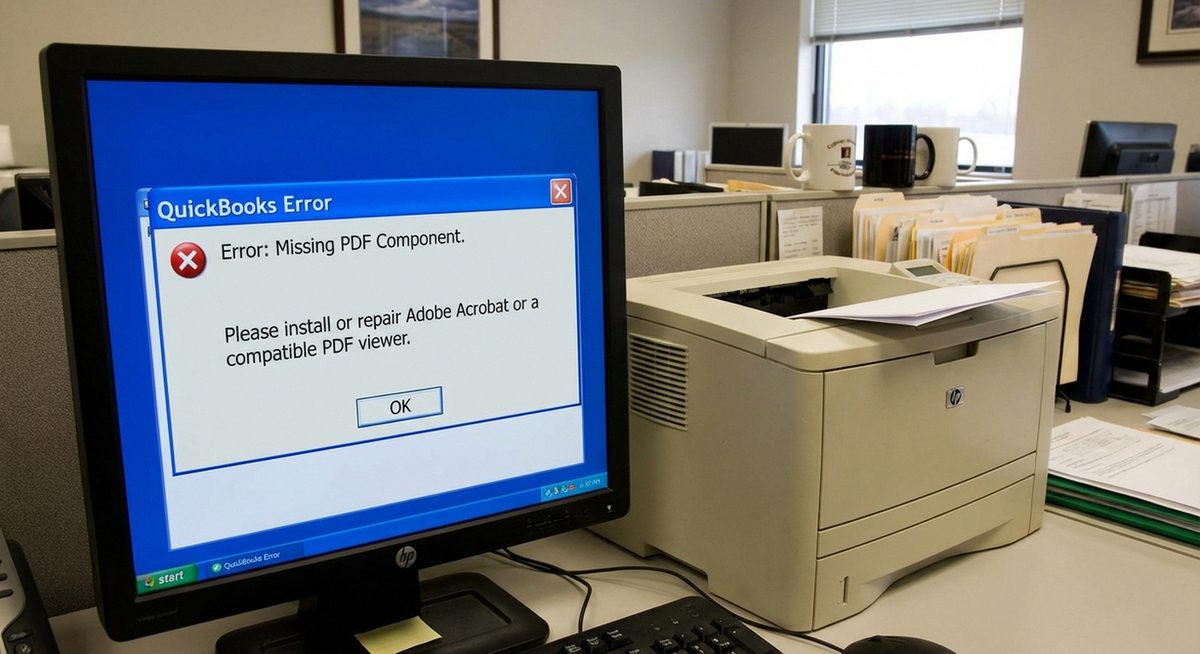
The QuickBooks missing PDF component error prevents you from saving transactions as PDF files, emailing invoices or reports directly from QuickBooks, and printing forms through the built-in PDF converter. The error message typically reads "QuickBooks can't complete the current action due to a missing component: Missing pdf file component" and appears when trying to use any feature that relies on the internal PDF printer driver.
This error affects QuickBooks Desktop versions (Pro, Premier, Enterprise) and is caused by issues with the Microsoft XPS Document Writer, the QuickBooks PDF Converter virtual printer, or the Windows print spooler service. QuickBooks uses these components to generate PDF files for email attachments, save-to-PDF operations, and certain printing functions. When any of these components are damaged, missing, or improperly configured, the PDF functionality breaks entirely.
The following methods address every known cause of the missing PDF component error, from reinstalling the XPS Document Writer to resetting the QuickBooks print configuration and repairing the Windows temp folder permissions that QuickBooks needs to generate PDF files.
Open Control Panel > Programs > Turn Windows features on or off, check Microsoft XPS Document Writer, click OK, and restart QuickBooks. This resolves the error in about 60% of cases.
QuickBooks can't complete the current action due to a missing component: Missing pdf file component. You will need to repair your QuickBooks installation.Method 1: Enable Microsoft XPS Document Writer
Step 1: Close QuickBooks completely. Press Windows + R, type optionalfeatures, and press Enter to open the Windows Features dialog.
Step 2: Scroll through the list and find Microsoft XPS Document Writer. If it is unchecked, check the box. Also ensure Microsoft Print to PDF is checked.
Step 3: Click OK and wait for Windows to install or enable the feature. A restart may be required.
Step 4: After restarting, verify the XPS Document Writer appears in your printer list by going to Settings > Devices > Printers & scanners. Open QuickBooks and try saving an invoice as PDF to test the fix.
Method 2: Use the QuickBooks PDF and Print Repair Tool
Step 1: Download the QuickBooks Tool Hub from Intuit's official website (quickbooks.intuit.com/tool-hub/). Install it and open the application.
Step 2: In the QuickBooks Tool Hub, click the Program Problems tab on the left sidebar.
Step 3: Click QuickBooks PDF & Print Repair Tool. The tool will automatically detect and repair issues with the QuickBooks PDF Converter, XPS Document Writer, and print spooler configuration. This process takes 3-5 minutes.
Step 4: Once the repair completes, restart your computer (not just QuickBooks). Open QuickBooks and test by emailing an invoice or saving a report as PDF.
Method 3: Fix the Temp Folder Permissions
Step 1: QuickBooks creates PDF files in the Windows temp folder before saving or emailing them. If this folder has incorrect permissions, the PDF generation fails. Press Windows + R, type %temp%, and press Enter to open the temp folder.
Step 2: Right-click an empty area inside the temp folder and select Properties. Go to the Security tab.
Step 3: Verify that your Windows user account has Full Control permissions. If not, click Edit, select your username, and check the Full Control checkbox under Allow. Click Apply and OK.
Step 4: Also check the QBPrint.qbp file for corruption. Navigate to C:\ProgramData\Intuit\QuickBooks [version] and rename QBPrint.qbp to QBPrint.qbp.old. Open QuickBooks — it will automatically create a new QBPrint.qbp file with default settings.
Method 4: Reinstall the QuickBooks PDF Converter Manually
Step 1: Open Settings > Devices > Printers & scanners. Look for a printer named "QuickBooks PDF Converter" or "Intuit Internal PDF Converter." If it exists, click it and select Remove device.
Step 2: Navigate to the QuickBooks installation folder (typically C:\Program Files (x86)\Intuit\QuickBooks [year]). Find the file pdfcamp or pdf_converter related files. Note the location for reference.
Step 3: Run the QuickBooks installer from Control Panel > Programs and Features. Right-click QuickBooks Desktop and select Repair. This reinstalls all components, including the PDF converter, without affecting your company data.
Step 4: After the repair finishes, restart Windows. Open QuickBooks, go to File > Printer Setup, and select the appropriate form (Invoice, Report, etc.). Verify that a PDF option is available in the printer dropdown. Test by creating and emailing a sample invoice.
Why Does This Problem Happen?
The missing PDF component error occurs because QuickBooks Desktop relies on a chain of Windows components to generate PDF files: the Windows print spooler service, the Microsoft XPS Document Writer, and a QuickBooks-specific virtual PDF printer. When any link in this chain breaks — whether due to a Windows Update removing or disabling the XPS writer, antivirus software quarantining the PDF converter driver, or a corrupted QBPrint.qbp configuration file — the entire PDF pipeline fails.
Windows 10 and 11 updates are the most common trigger because Microsoft periodically changes how virtual printers and document writers are handled. The QuickBooks PDF Converter also uses components from older print driver architectures that can conflict with newer Windows printer management systems. Users running QuickBooks on multi-user networks sometimes encounter this error when the server handles print routing differently than expected, particularly when Terminal Server or Remote Desktop environments redirect printers.