If you need to undo a reconciliation in QuickBooks, the process differs between QuickBooks Online and QuickBooks Desktop. In QuickBooks Online, go to Settings > Reconcile > History by Account, select the reconciliation you want to undo, and click Undo. In QuickBooks Desktop, the process requires unreconciling individual transactions or using the Undo Last Reconciliation feature.
Common reasons for undoing reconciliation include discovering a duplicate transaction, finding a miscategorized entry, realizing the ending balance was entered incorrectly, or needing to add a missing transaction to a previously reconciled period. Acting quickly minimizes the ripple effect on subsequent reconciliation periods.
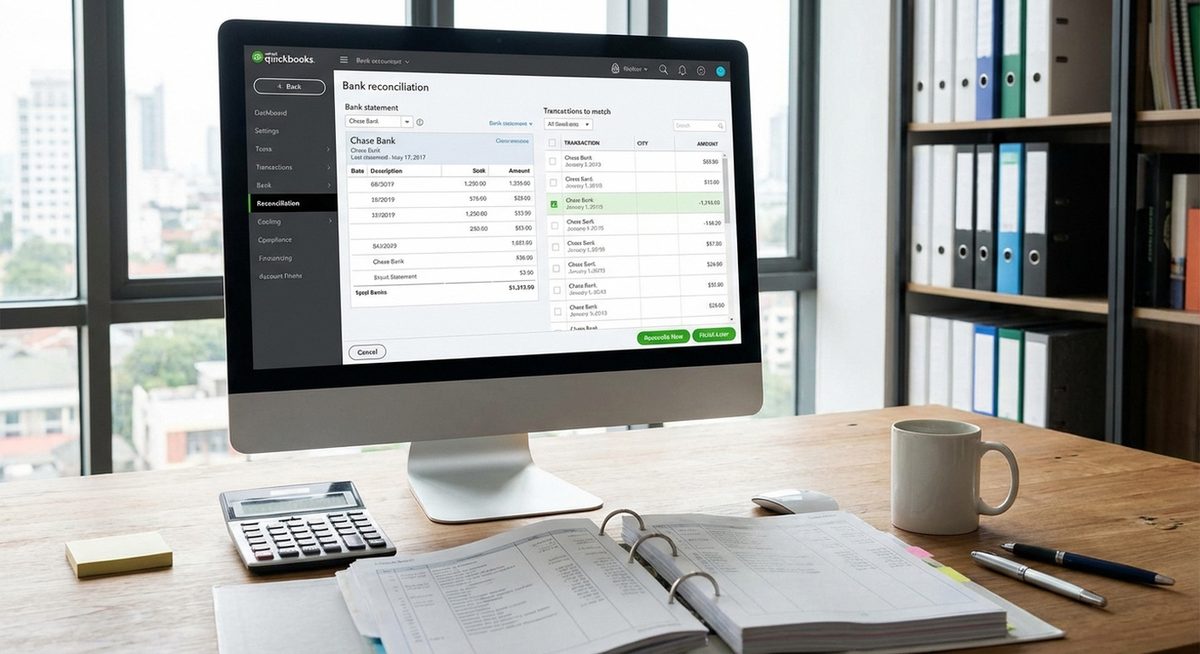
QuickBooks Online: Settings (gear icon) > Reconcile > History by Account > select the reconciliation > Undo. QuickBooks Desktop: Banking > Reconcile > select account > Undo Last Reconciliation.
Method 1: Undo Reconciliation in QuickBooks Online
QuickBooks Online provides a straightforward undo option that reverses an entire reconciliation at once.
Go to Reconciliation History
Click the gear icon (Settings) in the top-right corner, then select Reconcile. Click History by Account to see past reconciliations.
Select the Account and Period
Choose the bank or credit card account from the dropdown. Find the reconciliation period you want to undo in the history list.
Click Undo
Click the Undo button next to the reconciliation entry. QuickBooks asks you to confirm — this will change all transactions in that period from Reconciled (R) status back to Cleared (C) or Uncleared.
Confirm the Undo
Click Yes, Undo to proceed. All transactions in that reconciliation are now unreconciled. You can correct errors and re-reconcile the period.
Tip: You can only undo the most recent reconciliation for an account. If you need to undo an older reconciliation, you must first undo all subsequent reconciliations in reverse chronological order.
Method 2: Unreconcile Individual Transactions in QuickBooks Online
If you only need to fix one or two transactions without undoing the entire reconciliation, you can unreconcile them individually.
Open the Transaction Register
Go to Chart of Accounts, find the bank account, and click View Register (or Account History).
Find the Reconciled Transaction
Locate the transaction you need to unreconcile. Reconciled transactions show an R in the reconciliation status column.
Click the R to Change Status
Click the R next to the transaction. It changes to C (Cleared) or blank (Uncleared). This removes it from the reconciliation.
Correct the Transaction
Edit the transaction as needed (fix amount, category, date, etc.), then re-reconcile it in your next reconciliation session.
Method 3: Undo Last Reconciliation in QuickBooks Desktop
QuickBooks Desktop (Pro, Premier, Enterprise) has an Undo Last Reconciliation feature that reverses the most recent reconciliation for an account.
Open the Reconciliation Window
Go to Banking menu > Reconcile. Select the bank account you need to undo.
Click Undo Last Reconciliation
In the Begin Reconciliation window, click Undo Last Reconciliation. QuickBooks warns that this action reverses the reconciliation.
Confirm and Wait
Click Continue to confirm. QuickBooks processes the undo, which may take a moment for accounts with many transactions. All transactions from the last reconciliation revert to unreconciled status.
Re-reconcile When Ready
After correcting the errors, start a new reconciliation for the same period with the correct ending balance.
Warning: Undoing a reconciliation affects your financial reports for that period. If you have already filed taxes or shared reports for the reconciled period, consult your accountant before making changes. Document what you changed and why for audit trail purposes.
Method 4: Fix Reconciliation Discrepancies Without Undoing
Sometimes you do not need to undo the entire reconciliation — you just need to fix a discrepancy.
Review the Reconciliation Report
In QuickBooks Online, go to Reports > Reconciliation Reports. In Desktop, go to Reports > Banking > Reconciliation Discrepancy. This shows what changed since reconciliation.
Identify the Discrepancy
Look for transactions that were modified, deleted, or added after reconciliation. The report shows the original amount and the current amount.
Make a Journal Entry to Correct
If the discrepancy is small and you cannot undo, create a journal entry to adjust the balance. This is a common accounting practice for minor reconciliation corrections.
Why Would You Need to Undo a Reconciliation?
Reconciliation errors happen for several reasons. The most common is entering an incorrect ending balance from the bank statement, which causes the reconciliation to balance with the wrong number. Duplicate transactions — where the same bank entry appears twice — inflate the reconciled balance. Transactions assigned to the wrong account or category need correction and re-reconciliation. Missing transactions discovered after reconciliation require the period to be reopened. Voided or deleted checks that were already reconciled create discrepancies. Understanding the specific error helps you choose between undoing the entire reconciliation or fixing individual transactions.
Frequently Asked Questions
Yes. Go to Settings > Reconcile > History by Account, select the reconciliation, and click Undo. This reverses the entire reconciliation for that period.
No. Undoing reconciliation changes the transaction status from Reconciled to Uncleared but does not delete, modify, or move any transactions.
You must undo reconciliations in reverse chronological order. To undo a reconciliation from 3 months ago, you first need to undo the 2 more recent reconciliations for that account.
Yes, it temporarily changes your financial statements for the affected period. The impact is resolved once you correct the errors and re-reconcile. Consult your accountant if you have already filed taxes for the affected period.
For small discrepancies, create a journal entry to an expense account like Bank Reconciliation Discrepancies for the difference amount. This is standard accounting practice for minor variances.
QuickBooks Self-Employed has limited reconciliation features. You can uncategorize or recategorize transactions but there is no formal undo reconciliation option.
Financial reports recalculate to reflect the unreconciled status. Once you re-reconcile, reports return to their correct state.
Double-check the ending balance against your bank statement before starting. Verify the number of transactions matches. Review each transaction rather than bulk-selecting. Reconcile monthly to keep periods manageable.
Yes, accountant users in QuickBooks Online have the permission to undo reconciliations. They can access your books through the QuickBooks Online Accountant portal.
No, you can undo and redo reconciliations as many times as needed. However, frequent changes create a confusing audit trail, so try to get it right in as few attempts as possible.