Rotating a picture in Microsoft Word is something most users need at some point, whether you are adjusting a scanned document that came in sideways, aligning a logo at a specific angle, or flipping an image for a mirror effect. Word provides several built-in rotation tools that let you turn images by preset increments, enter an exact degree value, or drag the rotation handle for freeform adjustments.
The rotation options are available across all modern versions of Word, including Word 2016, 2019, 2021, and Microsoft 365. The steps differ slightly depending on whether you are using Word on Windows, Mac, or Word for the Web, but the core functionality remains the same. You can rotate pictures, shapes, text boxes, and even WordArt elements using these methods.
Below you will find four proven methods to rotate images in Word, from the simplest drag-and-rotate approach to the precise degree-entry technique that gives you exact control over the angle.
Click the image, then click and drag the circular rotation handle at the top of the picture. Hold Shift while dragging to snap to 15-degree increments for precise alignment.
Image appears sideways, upside down, or at an incorrect angle after inserting into a Word documentMethod 1: Use the Rotation Handle to Freely Rotate
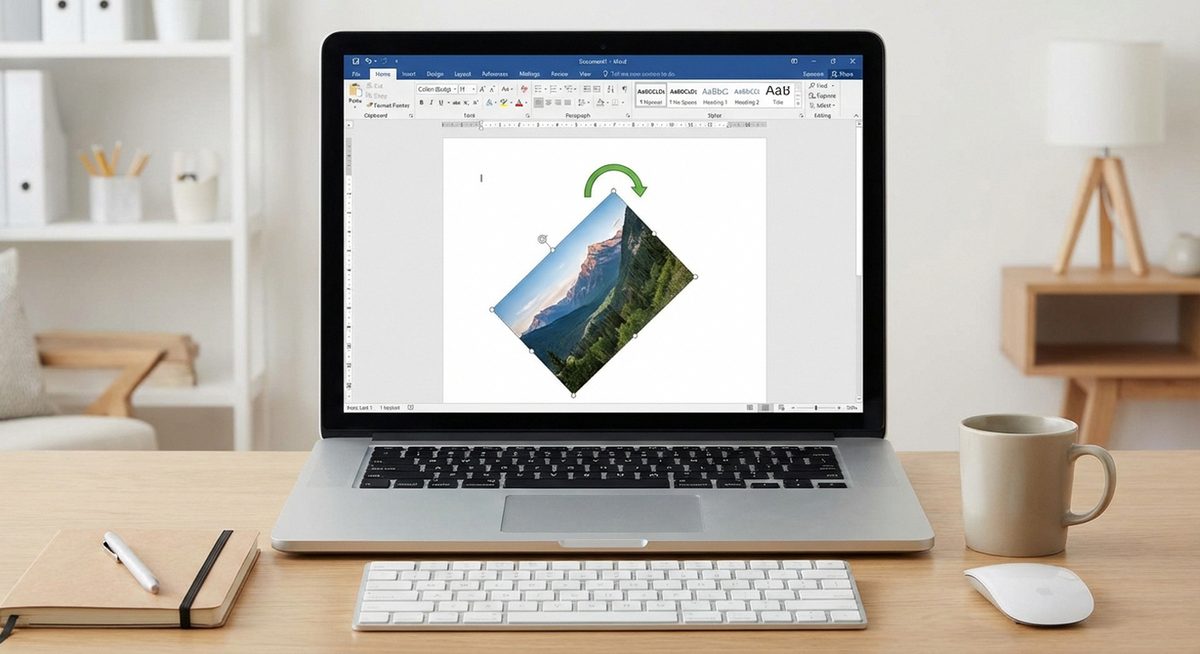
Step 1: Open your Word document and click on the image you want to rotate. Selection handles (small squares) will appear around the image borders.
Step 2: Look for the circular arrow icon at the top center of the selected image. This is the rotation handle. In Word 2016 and later, it appears as a curved arrow above the image.
Step 3: Click and hold the rotation handle, then drag it left or right. The image will rotate in real time as you move the mouse. Release when the image reaches the desired angle.
Step 4: For more controlled rotation, hold the Shift key while dragging. This constrains the rotation to 15-degree increments (15°, 30°, 45°, 60°, 75°, 90°, and so on), making it easier to hit common angles precisely.
Method 2: Rotate Using the Ribbon Menu Options
Step 1: Click on the image to select it. The Picture Format tab (or Format tab in older versions) will appear in the ribbon at the top of Word.
Step 2: Click the Picture Format tab, then look for the Rotate button in the Arrange group on the right side of the ribbon.
Step 3: Click the Rotate dropdown to see preset options: Rotate Right 90°, Rotate Left 90°, Flip Vertical, and Flip Horizontal.
Step 4: Select the rotation option you need. For a 180° rotation, apply "Rotate Right 90°" twice. For a mirror image, use "Flip Horizontal."
Method 3: Enter an Exact Rotation Angle
Step 1: Click the image, then go to Picture Format > Rotate > More Rotation Options at the bottom of the dropdown menu.
Step 2: The Layout dialog box will open. Click the Size tab if it is not already selected.
Step 3: Find the Rotation field and enter the exact degree value. Positive numbers rotate clockwise (e.g., 45 for a 45° clockwise turn), and negative numbers rotate counterclockwise (e.g., -30 for 30° counterclockwise).
Step 4: Click OK to apply the rotation. The image will immediately adjust to the exact angle you specified.
Method 4: Rotate Images on Mac and Word for the Web
Step 1: On Mac, click the image, go to the Picture Format tab, and use the same Rotate dropdown. The rotation handle also works identically to the Windows version.
Step 2: For precise rotation on Mac, right-click the image, select Size and Position, and enter the angle in the Rotation field.
Step 3: In Word for the Web, click the image and use the Rotate option in the Picture tab. The web version supports 90° rotations and flips but does not offer the rotation handle or exact degree input.
Step 4: If you need freeform rotation in Word Online, download the document to the desktop app, make your rotation changes, and then re-upload the file.
Why Does This Problem Happen?
Images often appear rotated incorrectly in Word due to EXIF orientation data embedded by cameras and smartphones. When you take a photo in portrait mode, the camera stores rotation metadata in the image file rather than physically rotating the pixels. Word reads this data and tries to auto-orient the image, but this process sometimes fails, particularly with older JPEG files or images edited in third-party software that strips EXIF data.
Another common cause is copy-pasting images from web pages or PDFs, where the original rotation information is lost during the transfer. Screenshots taken on rotated tablet screens can also arrive in Word at unexpected angles. In all these cases, manually rotating the image using one of the methods above will correct the orientation permanently within the document.