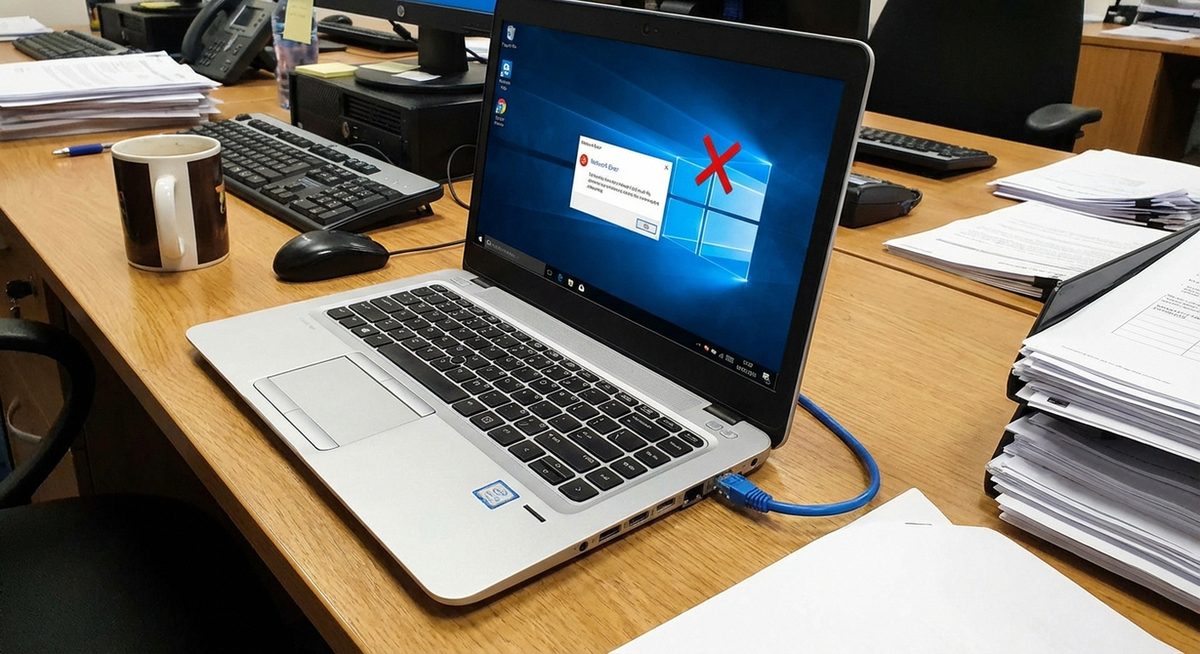
Ethernet Doesn’t Have a Valid IP Configuration in Windows 10 [Fixed]

Ethernet Doesn’t Have a Valid IP Configuration in Windows 10 [Fixed]

Do you want to get rid of the “Ethernet doesn’t have valid IP configuration” error? The blog will enlighten you about the best methods you can implement to resolve the error. Let’s fix it with us.

What Does “Ethernet Doesn’t Have a Valid IP Configuration in Windows 10” Mean?

The “Ethernet doesn’t have a valid IP configuration” error occurs due to the incorrect Network Interface Card (NIC). The NIC is attached to the modem or router via Ethernet cable. If the Ethernet cable fails to receive a valid IP address then you encounter networking issues.

How to Fix Ethernet Doesn’t Have Valid IP Configuration Issue?

The networking issues on Windows are caused by faulty routers, faulty NIC, or when the incorrect IP address is being assigned to your computer. To fix these networking issues, you can perform a number of methods we are going to discuss. Let’s get started!

Method 1: Restart Your PC

Windows 10 has a feature called Fast Startup. It is created to load settings from your systems cache or memory to reduce start-up time and boot. Users discuss this error:  Ethernet doesn’t have a valid IP configuration on Reddit that can be resolved if you restart your system and disable the fast startup.

To disable the Fast Startup feature, you can do the following: 

  • Click right on the “Start” menu to launch the “WinX” menu.
  • Select the “Power Options” under the “WinX” menu.
Power - ethernet doesn t have a valid ip configuration
  • Now, click on the “Choose what the power buttons do. Choose what the power button does” available on the left bar.
  • Go to the “Change settings that are currently unavailable”.
  • Uncheck the box that says “Turn on fast startup (recommended)” to disable “Fast Startup.
  • Select the “Save changes”.

Save Changes - ethernet doesn t have a valid ip configuration
  • Close the “System Settings” option.
  • Then, “Restart” the PC.

Method 2: Check the Network Adapter Settings

A router automatically assigns an IP address. This should be a selected setting until you choose it manually. However, you can set it as an automatic connection and choose the Internet Properties for your right settings and configure it again. To fix the Ethernet doesn’t have a valid IP configuration on Windows 10 error, follow these steps

  • Press the “Windows” + “R” key to bring the “Run” box.
  • Then, type “ncpa.cpl” in the text field.
ncpa.cpl - ethernet doesn t have valid ip configuration
  • Hit the “OK” button. This will open the “Network Connections” window.
  • Right-click the “Network Adapter” option.
  • Choose the “Properties” option.
  • In the “Ethernet Properties” dialog box,, click on the “Internet Protocol Version 4 (TCP/IPv4).
  • Click on the “Properties”. This will open the “Internet Protocol Version 4 (TCP/IPv4) Properties” option.
  • Ensure that you select two of the following options:
    • Obtain DNS Server Address Automatically
    • Obtain an IP Address Automatically

These steps are for the Ethernet Card. Now, your next move should be rebooting your router or modem.

Method 3: Reboot the Router and Modem

To resolve the “Ethernet 2 doesn’t have a valid IP configuration” error, you can reboot the router and check for your ethernet cable if it works.

  • To reboot your router, you can power off the router and modem.
  • Wait for a while and power on the router.
  • Check your computer if it has a valid configuration now.
  • If it does not work, then use some other Ethernet cable from the router to your PC.
  • Otherwise, connect your PC to some other router.

After this, if you find the same error again with other routers then you need to replace the network card. And, if you find issues with the router then you need to replace it.

Note: Before replacing the router, make sure that you do the factory restore.

Method 4: Reset Network Settings

The network settings often get outdated. By resetting it, you can fix the “Ethernet 3 doesn’t have a valid IP configuration” error. For that, you can run the commands to flush the DNS server. Let’s know how to do it.

  • Press “Windows” + “S” keys on your keyboard.
  • Type in “Command prompt” and press the “Enter” button.
  • Then, you can run the following commands:
    • ipconfig /flushdns
    • ipconfig /renew
    • nbtstat –R
    • nbtstat –RR
    • netsh int ip reset c:\resetlog.txt
    • netsh winsock reset
  • When done, restart your PC.
  • Then, press “Windows” + “R” keys on your keyboard.
  • Type in “Control Panel” ad press the “Enter” button.
  • Select the “Network and sharing center” option.
  • Click on the “Change adapter settings” available on the left side of the screen.
  • Right-click on the “Ethernet hardware”.
  • Click on the “Disable” option.
  • Then, right-click again and choose the “Enable” option this time.
  • After that, “Restart” your PC.

Note: You may switch the PA511 connected to the computer and TP connected to your router.

Method 5: Check Your Connected Cables

If on Windows 10, Ethernet doesn’t have a valid IP configuration error exists, then make sure that all the wires or cables are connected properly. When you connect the cable with your device, it sounds like a click which indicates that cables are connected properly. Besides that, your device blinks a light when the cables are connected.

Method 6: Uninstall the Network Adapter

By uninstalling and reinstalling the network adapter, you can remove the error message: Ethernet doesn’t have a valid IP configuration from your computer.

  • Press the “Windows” + “X” keys on your computer.
  • Type in “hdwwiz.cpl” and hit the “Enter” key.
hdwwiz - ethernet doesn t have a valid ip configuration
  • Now expand the “Network Adapter” option and note down the network card name.
  • Right-click on the “Ethernet card (nic)” and select “Uninstall”.
  • Click on the “Action” button.
  • Select “Scan for hardware changes” from the menu.

This will help you to get rid of the “Ethernet doesn’t have a valid IP configuration 2019 or 2020”. Yet you encounter the same error then you need to disable IPV6.

Method 7: Disable IPV6

Usually, your PC is configured to use the IPV4. But there are instances when the network settings are reconfigured automatically. And, it runs on the IPV6 configuration. This often causes conflicts with your connection and causes “Ethernet 2 does not have a valid IP configuration” error.

  • “Right-click” on the network icon located inside the system tray.
  • Click on the “Open Network and Internet Settings” option.
  • Select the “Network and Sharing Centre” option.
  • Then, choose the “Change Adapter Settings” button.
  • Click right on the network connection and click on the “Properties” option.
  • Find the “Internet Protocol Version 6 (TCP/IP) from the menu list and uncheck this option.

Hit the “OK” button.

Method 8: Turn Off Microsoft Kernel Debug Network Adapter

In case you have installed an additional network adapter on the device to the default network adapter then this may interfere and cause network issues. When there is no valid IP configuration Ethernet windows 10 then you can disable Microsoft Kernel Debug Network Adapter.

  • Use the “Windows + X” keys on the keyboard.
  • Then, select the “Device Manager” from the result.
  • Click on the “View” option and select the “Show Hidden Devices” option.
  • Now “Right-click” on the “Microsoft Kernel Debug Network Adapter” option.
  • Click on the “Disable device” option.
  • Click the “Yes” button when it appears.

Method 9: Assign a MAC Address to the Network Card

To establish a connection with your internet router, the MAC address should be assigned to a network. If you don’t enter the MAC address correctly, it may prevent your device from joining the ethernet. As a result, it causes Ethernet 2 no valid IP configuration” error. Let’s know how to assign a MAC address to your network card.

  • Press the “Windows + R” keys on your keyboard.
  • Type “cmd” in the dialogue box.
  • Press the “Enter” button.
  • Type “ipconfig/all” in the text field.
  • Press the “Enter” button.
  • Now, write down the “Physical Address” that appears in the result.
  • Click-right on the “Network” icon available in the “System Tray”.
  • Click on the “Open Network and Internet Settings” option.
  • Select the “Network and Sharing Centre” option.
  • Then, click on the “Change Adapter Settings” option.
  • Click-right on the “Network” that you use.
  • Select the “Properties” option.
  • Select the “Configure” option.
  • Go with the “Advanced” tab.
  • Select the “Network Address” option from the menu list.
  • Now check for the “value” option.
  • Add the address you wrote down before.
  • Now, hit the “OK” button to save your actions.

After implementing all the steps, you can examine if the Ethernet IP configuration is not valid. If no, then try to enable DHCP to fix the problem.

Method 10: Enable DHCP

DHCP has a special role in network configuration. It helps you detect and assign the network configuration settings automatically on the PC. When it is disabled, you might encounter this “Ethernet doesn’t have a valid IP configuration error”. To prevent this error, you can simply enable the DHCP on Windows 10.

  • Press the “Windows + R” keys on your keyboard. This will open the “Run” dialog box.
  • Type “services.msc” in the text field.
  • Hit the “Enter” button.
  • Double-click the “DHCP Client” in the “Services” window.
  • Go to the “Startup type” dropdown and choose the “Automatic” option.
  • Hit the “Start” button.
  • Now, go back and right-click the “DHCP Client”.
  • Choose the “Restart-Service” option.
  • Click on the “Yes” button to enable DHCP successfully.

Method 11: Disable Power Management Customizations

Power-saving features disable certain functions on your computer to save energy. These power-saving features may also prevent network adapters from working properly. In that case, you can disable the power management customizations. This will surely fix Ethernet doesn’t have a valid IP configuration on Windows 10.

  • Click right on the “Network” icon available in the system tray.
  • Click on the “Open Network and Internet Settings” option.
  • Now, go to the “Network and Sharing Centre” option.
  • Then, click on the “Change Adapter Settings” option.
  • Right-click on the “Internet connection”.
  • Click on the “Disable” option.
  • Right-click again on the “Internet connection”.
  • Select “Properties”
  • Go to the “Configure” option.
  • Select the “Power Management” option and uncheck the “Allow the computer to turn off this device to save power” option.
  • Hit the “OK” button.
  • Right-click on the “Internet connection” again.
  • Select the “Enable” option to disable the power management customizations.

Method 12: Renew IP Configurations

In a few cases, IP Configurations may prevent Ethernet from working properly. So, you can try renewing the IP configurations if it causes Ethernet doesn’t have a valid IP configuration on Windows 10.

  • Press the “Windows + R” buttons to open the ”Run” box.
  • Type “cmd” in the text field.
  • Hit the “Enter” button.
  • Enter the following commands.
    • IPconfig /release
    • IPconfig /flushdns
    • IPconfig /renew
  • After executing these commands, you can check if the error persists.

Method 13: Disable Antivirus

Third-party Antivirus programs can block your PC from establishing contact with your internet. To prevent “Ethernet 2 does not have a valid IP configuration” error, you can disable Antivirus software on your computer.

  • Right-click on the “Antivirus” icon available in the “System Tray”.
  • Click on the “Disable” option to temporarily disable the Antivirus.

Method 14: Perform a Check Disk Scan

When the Hard Disk is corrupted, it may interfere with a few elements of your operating system. This can also create problems with the Ethernet Drivers. So, if the Windows 10, Ethernet does not have valid IP configuration error bothers you then you can perform a disk scan to detect the issue.

  • Press the “Windows + R” buttons to open the ”Run” box.
  • Type “cmd” in the text field.
  • Hit the “Enter” button.
  • Enter “chkdsk c:/f” in the area.
  • Hit the “Enter” button.
  • Press “Y” in order to confirm the disk check scan schedule.
  • Then, wait for a while until it finishes the process.

Method 15: Set DNS and IP Manually

If the automatic process of setting IP and DNS does not work then you can set it manually. To do so, you can do the following if the Ethernet IP configuration is not valid.

  • Press the “Windows + R” buttons to open the ”Run” box.
  • Type “Ncpa.cpl” in the text field.
  • Hit the “Enter” button. This will open the “Network Management” window.
  • Right-click the “Network connection” and select the “Properties” option.
  • Select the “Internet Protocol Version 4 (TCP/IPv4)” option.
  • Click on the “Properties” option.
  • Now, click on the “Use the following IP address” option. If the LAN IP address appears as 192.168.1.1, then:
    • Type the IP address 192.168.1.x (x is from 2 to 253)
    • subnet mask 255.255.255.0, and
    • default gateway 192.168.1.1.

Note: IP address may differ so you can connect another PC to the network and check the connection status to get the exact detail about this.

  • Click on the “Use the following DNS server addresses” option and enter the DNS server IP address provided by ISP.

Tip: Alternatively, you can type 1.1.1.1 and 1.0.0.1 as your primary and secondary DNS addresses.

  • Hit the “Apply” button and click on the “OK” to close the window.

Method 16: Download Network Driver in Compatibility Mode

In most cases, your network drivers may not be fully supported by your PC due to which you encounter “Ethernet doesn’t have valid IP configuration” error. So, you can download the drivers in the compatibility mode.

  • Visit the manufacturer’s website and download the setup file for “Ethernet Driver” for your PC.
  • Now, press the “Windows + R” keys to open the “Run” box.
  • Type “devmgmt.msc” and hit the “Enter” button. This will open the “Device Manager” window.
  • Expand “Network Adapter” in the “Device Management” window.
  • Right-click on the driver you are using presently.
  • Hit the “Uninstall Device” option. This will show a pop-up for confirmation.
  • Confirm that you want to remove the driver and follow the on-screen instructions.
  • Now, visit the location where the new driver setup file is saved.
  • Then, right-click on it and choose the “Properties” option.
  • Click on the “Compatibility” tab and place the checkmark located next to “Run this program in Compatibility mode”.
  • Then, choose the older version of your operating system.
  • Now, wait for the installation process to successfully install a network driver.

Method 17: Set the Maximum Performance

The wireless adapter may not work efficiently due to which you see “Ethernet 2 doesn’t have a valid IP configuration” error. To deal with this, you can set the maximum performance. Do the following.

  • Press the “Windows + R” buttons to open the ”Run” box.
  • Type “Control Panel” in the text field.
  • Hit the “Enter” button.
  • When the “Control Panel” window opens, select the “View By” option.
  • Choose the “Large Icons” option.
  • Select the “Power Options” to open the “Power Management” screen.
  • Go to the “Change Plan Settings” option under the “Power Plan”.
  • Now, click on the “Change advanced power settings” option.
  • Double-click the “Power Saving Mode” dropdown in the “Advanced Power Management” window.
  • Choose the “Maximum Performance” option.
  • Click on the “Apply” button and hit the “OK” button.

Method 18: Disable the Virtual Ethernet Devices

If you are receiving “Ethernet 3 doesn’t have a valid IP configuration” error then you should disable the virtual ethernet devices. To do so, follow these steps.

  • Press the “Windows + R” buttons to open the ”Run” box.
  • Type “ncpa.cpl” in the text field.
  • Hit the “Enter” button. This will open the “Network configuration” panel.
  • Right-click on the entry you think to belong to the software. It should not be connected to your computer physically.
  • Now, click on the “Disable” option and disable virtual ethernet devices.

Method 19: Reduce the Network Power Usage

When you set the power to the maximum value, you might get network connectivity issues. If there is no valid IP configuration Ethernet on Windows 10, then try to reduce network power usage using the following steps.

  • Press the “Windows + R” buttons to open the ”Run” box.
  • Type “Devmgmt.msc” in the text field.
  • Hit the “Enter” button. This will open the “Device Manager” panel.
  • Double-click the “Network Adapter” option to expand it and right-click the one you are using.
  • Click on the “Properties” option.
  • Go to the “Advanced” tab.
  • Find the “Power Output Property” and click on it.
  • Now change the value from 100 to 75%. In case you use an external monitor when the laptop is docked, change it to 50%.
  • Then, click the “OK” button and restart the PC to check the issue.

Method 20: Enable the Ethernet Adapter using BIOS

The Ethernet adapter is enabled on your PC by default. If on Windows 10, Ethernet doesn’t have a valid IP configuration error exists, you need to make sure that you disable and enable the adapter again. To initiate with this method, you can use BIOS settings. Let’s know how to do it.

  • Shut down your PC completely and power it on after a short while.
  • When your PC is being started, press the “This” button to open “BIOS” settings.
  • When you are in BIOS, you can navigate through options using the arrow keys.
  • Now, search for “integrated Peripherals”, “On-Chip PCI Devices”, Onboard Devices, or similar options and then hit the “Enter” button to access the menu.

Note: The menu may vary depending on the type of BIOS. You should see something related to Onboard integrated Peripherals.

  • Choose the “Integrated LAN”, or similar option. You can use left or right arrows to go through the options.
  • Then, “Enable” the ethernet adapter.
  • Now, press the “F10” key on your keyboard. This will show you a pop-up to save your actions and exit the BIOS. You can use the “Y” key to confirm the action.

This will reboot the computer. Then, your PC should detect the driver and the ethernet should work properly.

Method 21: Run the Network Diagnostic Tool

In some cases, an ethernet adapter may use the wrong configurations to create the connection. To fix this, you can take a full test of the network adapter. Let’s follow these steps.

  • Press the “Windows + R” buttons to open the ”Run” box.
  • Type “ncpa.cpl” in the text field.
  • Hit the “Enter” button. This will open the “Network Configuration” panel.
  • Right-click the “Ethernet Adapter”.
  • Click on the “Diagnose” option.
  • Now let the process go on and follow the on-screen instructions.
Conclusion

There can be numerous reasons behind this Ethernet doesn’t have valid IP configuration error. If you receive this networking issue then you can fix it by performing any of the aforementioned methods. This will help you remove the error and make your network power stronger than ever.

For more helpful guides like these, read the following:

0 0 votes
Article Rating
Subscribe
Notify of
0 Comments
Inline Feedbacks
View all comments