The CRITICAL_PROCESS_DIED blue screen error (stop code 0x000000EF) is one of the most alarming Windows errors you can encounter. It occurs when a critical system process stops unexpectedly, forcing Windows to shut down to prevent further damage to your system.
This BSOD typically points to corrupted system files, incompatible drivers, faulty Windows updates, or hardware problems. The error can appear during normal use, while gaming, or right after booting up. Unlike some blue screens that resolve with a simple restart, CRITICAL_PROCESS_DIED often requires targeted troubleshooting to fix permanently.
The methods below are organized from least invasive to most comprehensive. Start with Method 1 and work through them until your system stabilizes.
Boot into Safe Mode (hold Shift while clicking Restart), then run sfc /scannow in an elevated Command Prompt. This repairs corrupted system files that are the most common cause of this blue screen.
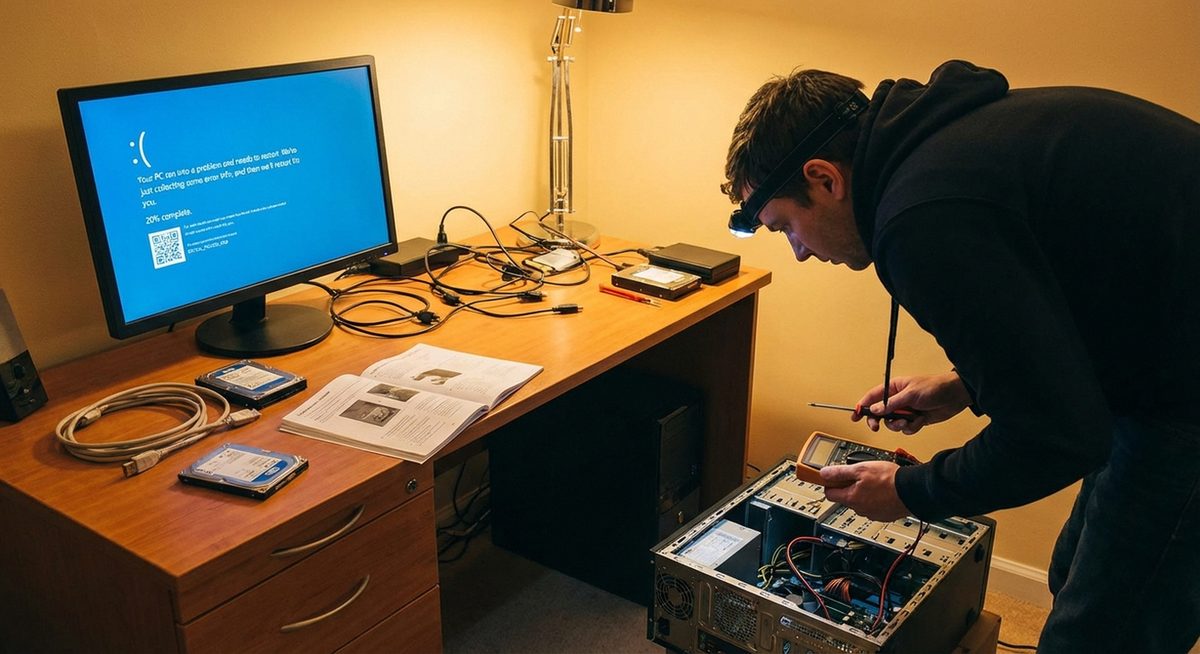
Your PC ran into a problem and needs to restart.
Stop code: CRITICAL_PROCESS_DIED (0x000000EF)
Method 1: Run SFC and DISM Repair Scans
System File Checker (SFC) and DISM are built-in Windows tools that detect and repair corrupted or missing system files. Since CRITICAL_PROCESS_DIED is most commonly caused by file corruption, this should be your first step.
Boot into Safe Mode
Restart your PC and hold Shift while clicking Restart from the power menu. Navigate to Troubleshoot > Advanced Options > Startup Settings > Restart, then press F5 for Safe Mode with Networking.
Open Command Prompt as Administrator
Press Windows + X and select Terminal (Admin) or Command Prompt (Admin). Click Yes on the UAC prompt.
Run the DISM Scan First
Type DISM /Online /Cleanup-Image /RestoreHealth and press Enter. Wait for this to complete — it may take 10-20 minutes. This repairs the Windows component store.
Run the SFC Scan
Type sfc /scannow and press Enter. Wait for the scan to reach 100%. If it finds and repairs files, restart your PC and check if the BSOD is resolved.
Tip: Always run DISM before SFC. DISM repairs the component store that SFC relies on. Running SFC on a damaged component store can sometimes make things worse.
Method 2: Update or Roll Back Problematic Drivers
Incompatible or corrupted device drivers are the second most common cause of the CRITICAL_PROCESS_DIED error. Graphics drivers, network adapters, and storage controllers are the usual culprits.
Open Device Manager
Press Windows + X and select Device Manager. Look for any devices with a yellow warning triangle — these indicate driver problems.
Update Drivers for Flagged Devices
Right-click the flagged device, select Update Driver, then Search Automatically for Drivers. Repeat for all devices showing warnings.
Roll Back Recently Updated Drivers
If the BSOD started after a driver update, right-click the device, select Properties > Driver tab > Roll Back Driver. This reverts to the previous working driver version.
Restart and Test Stability
After updating or rolling back drivers, restart normally and use your PC for at least an hour to verify the blue screen does not return.
Method 3: Uninstall Recent Windows Updates
A faulty Windows update can corrupt system processes and trigger this BSOD. If the error started appearing after a recent update, removing it often resolves the issue immediately.
Open Update History
Go to Settings > Windows Update > Update History. Note the dates and KB numbers of recent updates.
Uninstall Recent Updates
Click Uninstall Updates at the bottom. Select the most recent update and click Uninstall. Start with quality updates before feature updates.
Restart and Monitor
After the update is removed, restart your PC. If the BSOD stops, pause updates temporarily and wait for Microsoft to release a fixed version.
Warning: Do not disable Windows Update permanently. Security updates are critical. Only pause updates temporarily until the problematic update is revised by Microsoft.
Method 4: Check for Disk and Memory Errors
Hardware failures in your hard drive or RAM can cause critical processes to crash. Windows includes built-in diagnostics to test both components.
Run Check Disk
Open Command Prompt as Admin and type chkdsk C: /f /r. Press Y to schedule the scan for the next restart, then restart your PC. This scans for and repairs disk errors.
Run Windows Memory Diagnostic
Press Windows + R, type mdsched.exe, and press Enter. Click Restart Now and Check for Problems. The tool runs automatically during reboot and reports results.
Check Results After Restart
After the memory test completes, check Event Viewer > Windows Logs > System for MemoryDiagnostics-Results. If errors are found, you likely need to replace a RAM module.
Method 5: Perform a Clean Boot to Isolate the Cause
A clean boot starts Windows with minimal drivers and startup programs, helping you identify if a third-party application or service is causing the crash.
Open System Configuration
Press Windows + R, type msconfig, and press Enter.
Disable All Non-Microsoft Services
Go to the Services tab, check Hide All Microsoft Services, then click Disable All.
Disable Startup Items
Go to the Startup tab and click Open Task Manager. Disable all startup items by right-clicking each one and selecting Disable.
Restart in Clean Boot State
Click OK in System Configuration and restart. If the BSOD stops, re-enable services one at a time to identify the culprit.
Why Does CRITICAL_PROCESS_DIED Occur?
This blue screen appears when a Windows system process essential for normal operation terminates unexpectedly. The process may crash due to corrupted system files, driver conflicts, damaged disk sectors, faulty RAM, malware interference, or incomplete Windows updates. The 0x000000EF stop code specifically indicates that the process was marked as critical, meaning Windows cannot continue running safely without it. The operating system forces a blue screen to prevent potential data corruption or further system damage.
Frequently Asked Questions
It means a system process that Windows depends on to run has unexpectedly stopped working. The stop code 0x000000EF triggers a blue screen to prevent further damage. Common causes include corrupted files, bad drivers, and hardware issues.
The blue screen itself does not delete your files, but repeated hard crashes can potentially corrupt unsaved work or damage file system structures over time. Always back up important data when experiencing recurring BSODs.
If Windows cannot start normally, boot from a Windows installation USB, select Repair Your Computer, then access Command Prompt from Advanced Options. Run sfc /scannow and DISM commands from there.
While malware can corrupt system files and trigger this error, it is not the most common cause. Run a full system scan with Windows Defender or Malwarebytes in Safe Mode to rule out malware.
Not necessarily, but a failing drive is one possible cause. Run chkdsk to check for disk errors. If you see frequent SMART warnings or hear clicking sounds from your drive, consider replacing it immediately.
Force-shutdown your PC three times during boot (hold the power button) to trigger Automatic Repair. From there, navigate to Troubleshoot > Advanced Options > Startup Settings > Restart, and press F5 for Safe Mode.
Yes, outdated BIOS firmware can cause compatibility issues with newer hardware or Windows updates. Check your motherboard or laptop manufacturer website for BIOS updates, but proceed carefully as interrupted BIOS updates can brick your system.
A Windows reset (Settings > Recovery > Reset this PC) resolves this error in most cases by replacing all system files. Choose Keep My Files to retain personal data while resetting system components.
Gaming puts heavy load on the GPU driver and system resources. An unstable GPU driver is the most common cause during gaming. Update your graphics driver from the manufacturer website (NVIDIA, AMD, or Intel) rather than through Windows Update.
After fixing the immediate cause, keep drivers updated, run disk checks periodically, ensure Windows is current, avoid installing software from untrusted sources, and monitor system temperatures to prevent hardware-related crashes.