To boot an ASUS laptop from USB, press Esc during startup to open the boot menu, then select your USB drive from the list. Alternatively, press F2 to enter BIOS and change the boot order to prioritize USB devices. Both methods work on all ASUS laptop models including ROG, TUF Gaming, VivoBook, ZenBook, and ExpertBook.
Booting from USB is essential for installing a fresh copy of Windows, running Linux live distributions, performing system recovery, or using diagnostic tools. The key challenge most users face is that Secure Boot and Fast Boot settings can prevent the USB drive from appearing in the boot menu.
This guide walks you through every step, including creating bootable USB media and troubleshooting when your USB drive is not detected.
Power off your ASUS laptop, insert the bootable USB drive, press the power button, and immediately tap Esc repeatedly. Select your USB drive from the boot menu and press Enter.
Method 1: Boot from USB Using the Esc Boot Menu
The Esc key opens a quick boot device selection menu on most ASUS laptops without entering the full BIOS interface.
Prepare Your Bootable USB Drive
Ensure your USB drive has been created as bootable media using tools like Rufus, the Windows Media Creation Tool, or Balena Etcher. Insert it into a USB port on your ASUS laptop.
Power Off the Laptop Completely
Shut down the laptop fully. Do not use restart — a complete shutdown is required.
Press Power and Tap Esc Immediately
Press the power button, then immediately begin tapping the Esc key repeatedly until the boot menu appears. This should take 3-5 seconds.
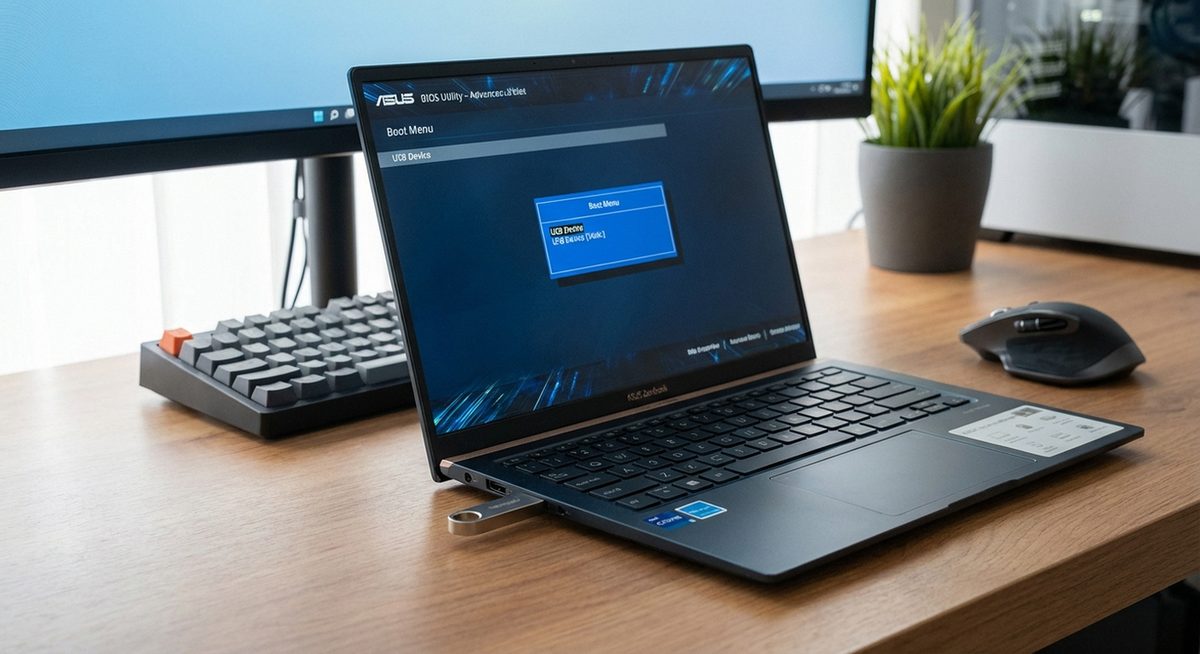
Select Your USB Drive
Use the arrow keys to highlight your USB drive in the boot device list. It may appear as the brand name (SanDisk, Kingston, etc.) or as a generic USB entry. Press Enter to boot from it.
Tip: If two entries appear for your USB drive — one with UEFI prefix and one without — choose the UEFI version if you are installing Windows 10 or 11 on a GPT-formatted drive. Choose the non-UEFI (Legacy) version for older Windows versions or MBR drives.
Method 2: Change Boot Order in ASUS BIOS
If you need to boot from USB repeatedly (for testing or multiple installations), changing the boot order in BIOS saves time.
Enter BIOS with F2
Power off, press the power button, and tap F2 repeatedly to enter BIOS Setup.
Switch to Advanced Mode
If BIOS opens in EZ Mode, press F7 to switch to Advanced Mode for full configuration access.
Navigate to the Boot Tab
Use the arrow keys to go to the Boot tab. Find the Boot Option Priorities section.
Set USB as First Boot Priority
Change Boot Option #1 to your USB device. Use Enter to open the dropdown and select the USB drive.
Save and Exit
Press F10 to save changes and exit BIOS. The laptop will restart and boot from the USB drive automatically.
Method 3: Disable Secure Boot to Allow USB Booting
Secure Boot prevents booting from unsigned media, which blocks some Linux distributions and older Windows installers. Disabling it allows the USB to be recognized.
Enter BIOS with F2
Power off and tap F2 during startup to enter BIOS.
Go to Security or Boot Tab
Navigate to the Security tab (or Boot tab, depending on BIOS version). Find the Secure Boot option.
Disable Secure Boot
Set Secure Boot Control to Disabled. You may need to set a Supervisor Password first on some models.
Save, Exit, and Boot from USB
Press F10 to save. Restart and use Esc to access the boot menu. Your USB drive should now appear.
Warning: Disabling Secure Boot reduces system security. Re-enable it after completing your USB boot task, especially if running Windows 11 which requires Secure Boot for full functionality.
Method 4: Fix USB Drive Not Showing in Boot Menu
If your USB drive does not appear in the boot menu despite being plugged in, several settings may need adjustment.
Try a Different USB Port
Use a USB 2.0 port (black interior) instead of USB 3.0 (blue). Some BIOS versions have better compatibility with USB 2.0 during boot.
Disable Fast Boot in BIOS
Enter BIOS (F2), go to the Boot tab, and set Fast Boot to Disabled. Fast Boot skips USB device detection during startup to speed up boot time.
Enable Launch CSM
In BIOS, find Launch CSM (Compatibility Support Module) under the Boot tab and set it to Enabled. This adds Legacy boot support which some USB drives require.
Recreate the Bootable USB
The USB drive may not be properly bootable. Reformat it and recreate it using Rufus with GPT partition scheme and UEFI target system for modern ASUS laptops.
Why Does the ASUS Boot Menu Not Show USB Devices?
ASUS laptops with UEFI firmware and Fast Boot enabled optimize startup speed by skipping enumeration of external devices. Secure Boot blocks unsigned boot media. CSM (Compatibility Support Module) being disabled prevents Legacy USB boot. The USB drive itself may be formatted with an incompatible partition scheme (MBR vs GPT) for the BIOS mode. Additionally, some USB drives are not recognized during POST if they use USB 3.0 controllers that initialize after the boot device selection window closes. Addressing these settings individually resolves the detection issue.
Frequently Asked Questions
Press Esc during startup for the boot device menu. Press F2 for BIOS Setup where you can change the permanent boot order. Press F8 on some older ASUS models for the boot menu.
Yes, all ASUS ROG laptops support USB booting. Press Esc during startup and select your USB drive. If it does not appear, disable Secure Boot and Fast Boot in BIOS.
Download the Windows Media Creation Tool from Microsoft, insert a USB drive (8GB minimum), and follow the prompts to create bootable Windows installation media. For Linux, use Balena Etcher.
Fast Boot is likely enabled, which skips external device detection. Enter BIOS (F2), disable Fast Boot under the Boot tab, and try again.
Yes, if the USB contains a signed bootloader (like official Windows installers). Unsigned media (some Linux distros, custom tools) requires Secure Boot to be disabled.
CSM (Compatibility Support Module) enables Legacy BIOS boot support alongside UEFI. Enable it if your USB drive was created in Legacy/MBR mode rather than UEFI/GPT mode.
Create bootable USB with Media Creation Tool, boot from it using Esc key, select Install Now, choose your drive, and follow the Windows Setup wizard.
USB 3.0 ports work for booting on most modern ASUS laptops. If you encounter issues, try a USB 2.0 port or disable Fast Boot to allow more time for USB 3.0 initialization.
In the boot menu, select the USB entry with the UEFI prefix. If no UEFI option appears, recreate the USB with Rufus using GPT partition scheme and UEFI target.
Yes, press Del (not F2) during startup to enter BIOS on ASUS desktops, or press F8 for the boot menu. Change boot priority to USB and save.