Changing ink cartridges on an Epson printer is a straightforward process, but the exact steps vary depending on your printer model. Whether you own an Epson Expression Home, WorkForce Pro, or EcoTank series printer, knowing how to properly replace ink ensures consistent print quality and prevents damage to the printhead.
Epson printers use either standard cartridge-based ink systems or refillable EcoTank ink bottles. Cartridge-based models require you to swap out individual color cartridges when they run low, while EcoTank models use bottles to refill built-in ink reservoirs. Both methods are covered in this guide with model-specific instructions.
Replacing ink at the right time is important. Continuing to print with very low ink levels can introduce air into the printhead, leading to print quality issues that require time-consuming cleaning cycles. When your printer alerts you that ink is low, plan to replace the cartridge soon to avoid these problems.
Press the ink button on your Epson printer or navigate to Setup > Maintenance > Ink Cartridge Replacement on the LCD screen. The printhead will move to the replacement position. Open the scanner unit, squeeze the tab on the empty cartridge, pull it out, unwrap the new cartridge, remove the yellow tape, and insert it until it clicks.
Epson Ink Cartridge Replacement — All ModelsBasic Troubleshooting
Step 1: Identify your Epson printer model. The model number is typically printed on the front of the printer (for example, XP-4200, WF-2960, ET-2850). This determines the exact cartridge numbers you need. You can also find compatible cartridge numbers in the printer settings under Setup > Ink Levels or in your printer manual.
Step 2: Purchase the correct replacement cartridges. Epson uses numbered cartridge systems — for example, 212 series for XP models, 502 for certain WorkForce printers, and 522 for EcoTank refills. Using the wrong cartridge number will not physically fit your printer. Check the Epson website or your printer manual for the exact cartridge numbers compatible with your model.
Step 3: Initiate the cartridge replacement process through the printer. On models with an LCD screen, go to Setup > Maintenance > Ink Cartridge Replacement. On models without an LCD, press and hold the ink button (marked with a droplet icon) for 3 seconds. The printhead carriage will move to the replacement position and the printer light will indicate which cartridge needs replacing.
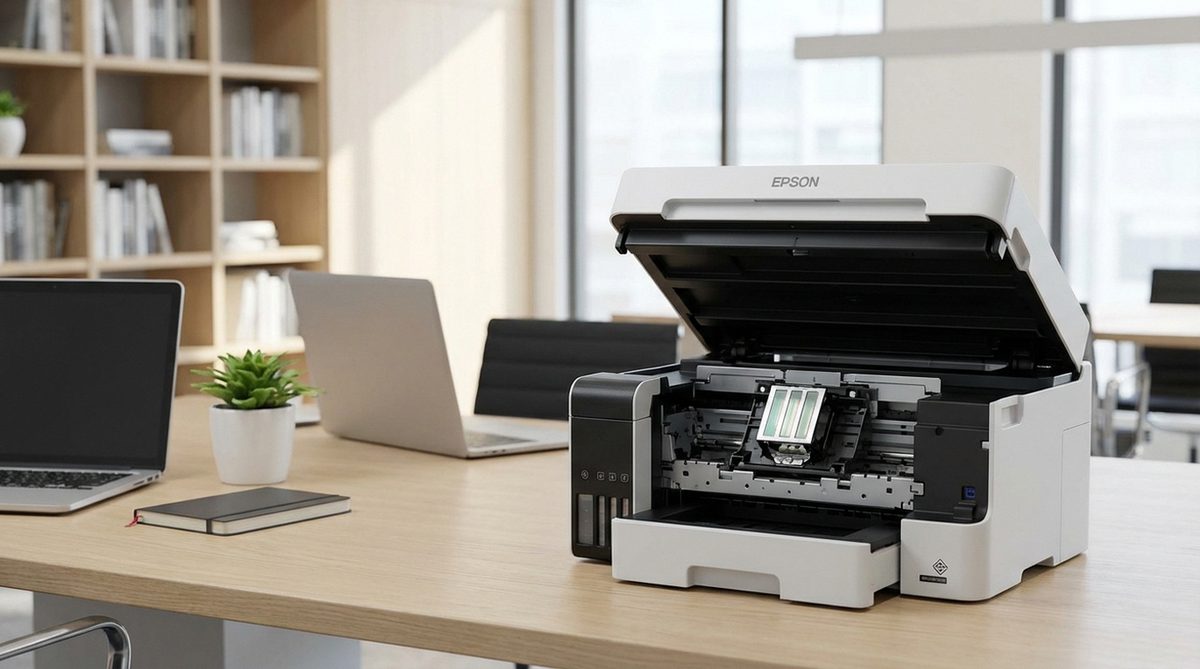
Step 4: Open the scanner unit (the top portion of the printer) and locate the cartridge carriage. Squeeze the tab on the cartridge you need to replace and lift it straight out. Do not touch the green circuit board on the cartridge or the copper contacts inside the carriage. Dispose of the old cartridge properly — many office supply stores accept empty cartridges for recycling.
Step 5: Unpack the new cartridge and remove all protective tape and packaging. Epson cartridges have a yellow tape strip that must be removed before installation — leaving it on will block ink flow and the printer will not recognize the cartridge. Insert the new cartridge into the correct slot at a slight angle and push it down until you hear a click, confirming it is locked in place.
Advanced Solutions
Step 1: For EcoTank models, the refill process is different. Open the ink tank cover on the front of the printer. Open the cap on the tank matching the color you need to refill. Snap off the tip of the ink bottle (Epson bottles are designed to prevent spilling). Place the bottle upside down into the filling port — the ink will flow automatically and stop when the tank is full. Close the cap and ink tank cover.
Step 2: If the printer does not recognize a new cartridge, remove it and reinsert it firmly. Check that you removed all protective tape, including the yellow tape on the bottom. Clean the green chip on the cartridge gently with a lint-free cloth. If the issue persists, the cartridge may be defective — try another cartridge from the same pack or a different package.
Step 3: Run a print head cleaning cycle after replacing cartridges if print quality is poor. Go to Setup > Maintenance > Head Cleaning on the LCD, or hold the ink button for 3 seconds on models without a screen. Print a nozzle check pattern afterward to verify all colors are printing correctly. You may need to run the cleaning cycle up to 3 times for optimal results.
Step 4: If one color consistently runs out faster than others, check your print settings. Printing in draft mode uses less ink. Avoid unnecessary color printing by selecting grayscale when color is not needed. In the printer driver settings, you can adjust ink density and quality settings to balance print quality with ink consumption.
Step 5: For persistent cartridge recognition errors after replacing ink, try a printer reset. Turn off the printer, unplug it from the wall for 60 seconds, then plug it back in and power on. This clears the printer memory and forces it to re-detect all installed cartridges. If the problem continues, update your printer firmware through the Epson Software Updater utility on your computer.
Why Does This Problem Happen?
Ink cartridges eventually need replacement because the printhead deposits microscopic ink droplets onto paper with every print job. The rate at which ink is consumed depends on what you print — full-color photos use significantly more ink than text documents. Epson printers monitor ink levels electronically through chips on each cartridge and alert you when levels are low.
Issues during ink replacement typically arise from three causes: using incorrect cartridge numbers, failing to remove all protective tape before installation, or inserting the cartridge at the wrong angle. EcoTank users occasionally overfill reservoirs or use non-Epson ink, which can clog the system. Always follow the model-specific instructions and use genuine Epson supplies for the best results.